Monday, 30 May 2022

Feud - Wargaming the Gordon - Forbes Feud and Marian Civil War 1562-1571

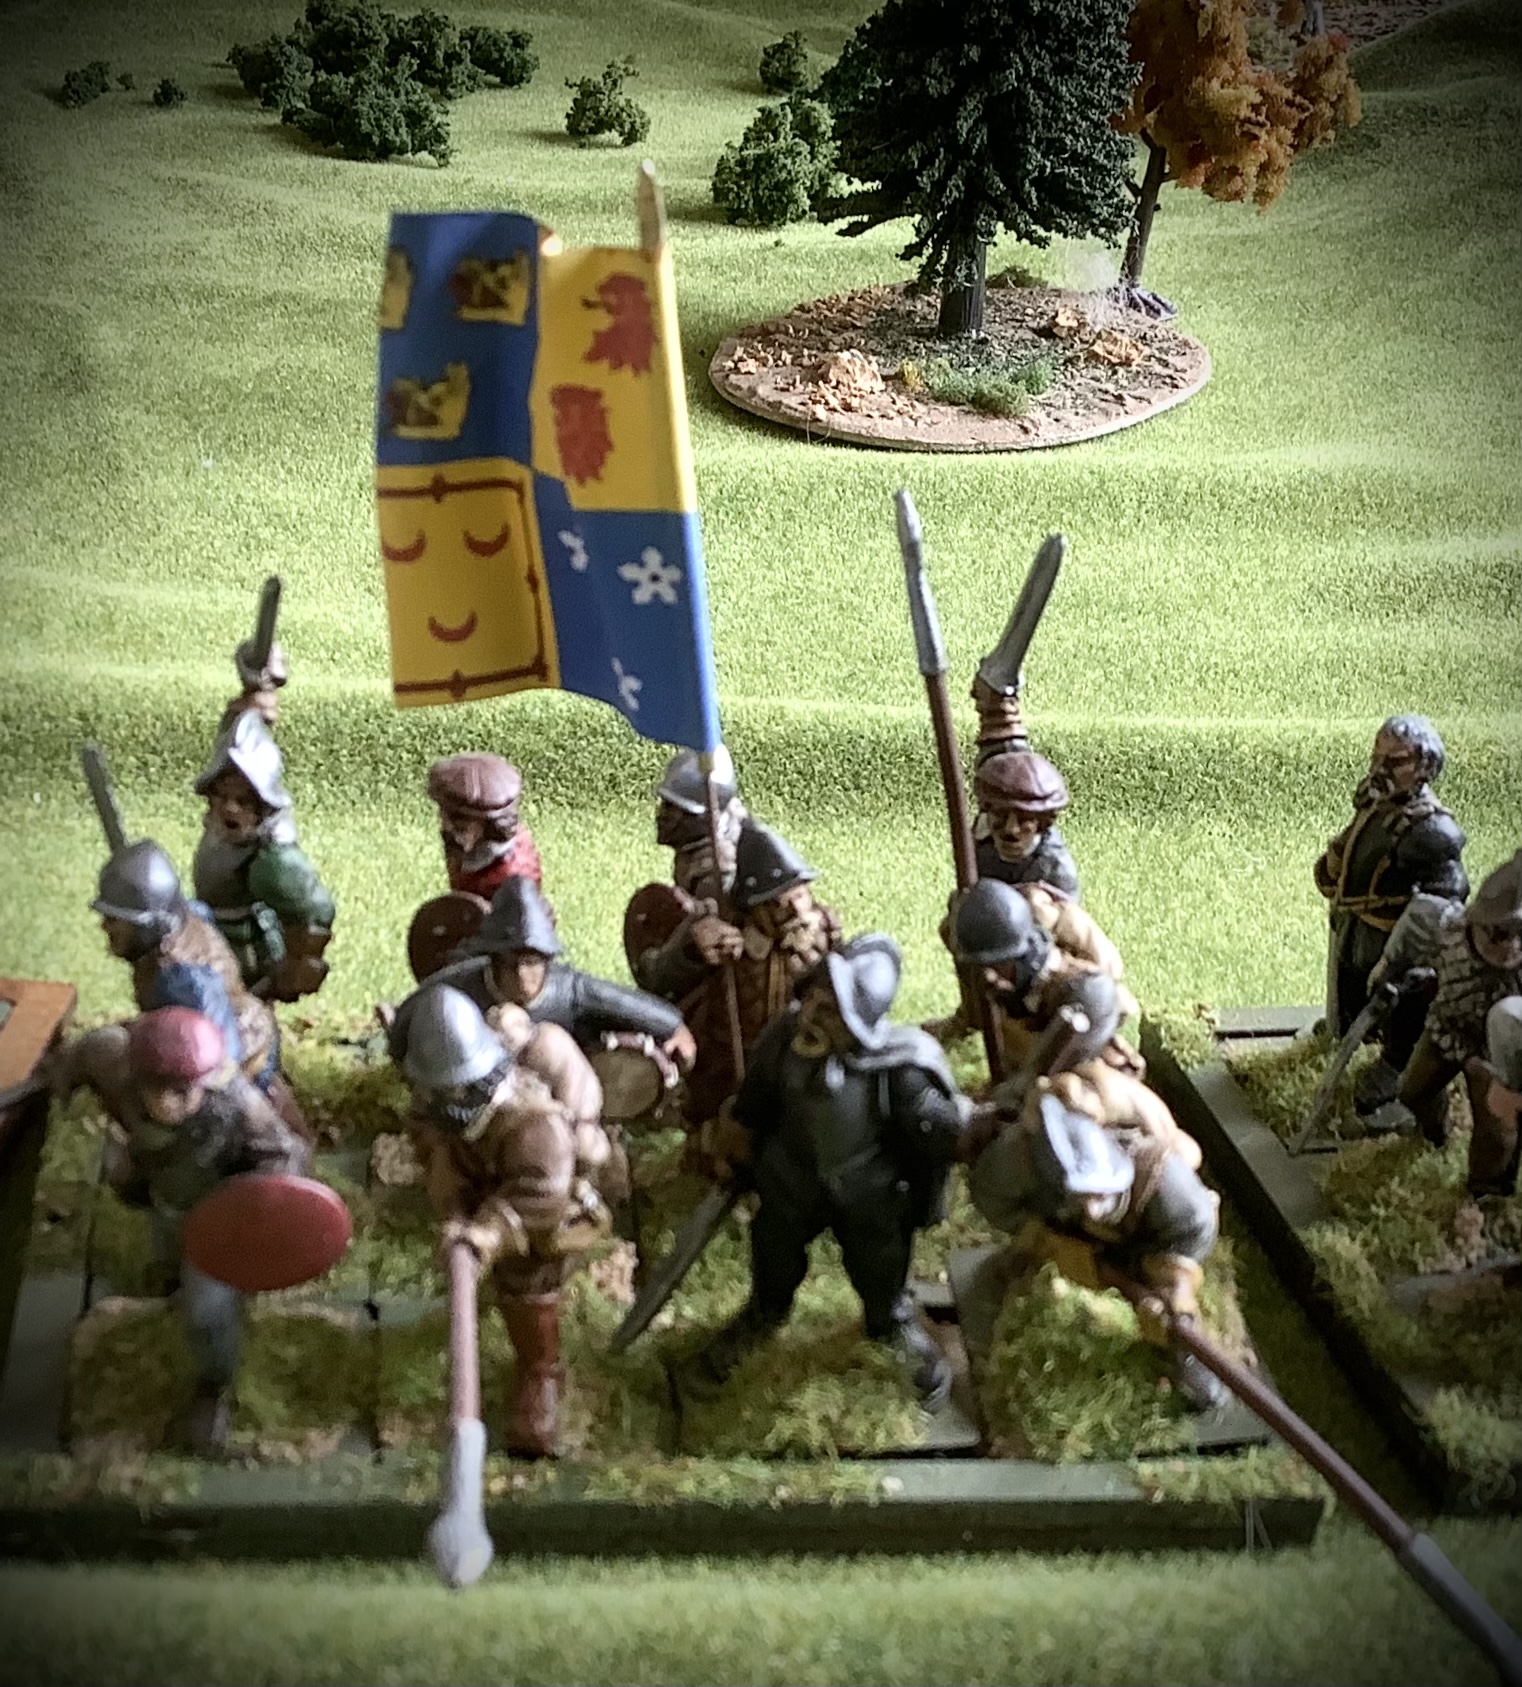
I hosted my mates John and Eric from Banchory today and so we decided to game the Battle of Corrichie once more. John and I first discussed fighting this battle many many years ago. John reminded me that it was when Grampian Battles by Peter Marren, was reprinted, which would be around 20years ago!

Having played it before using Pikeman's Lament I set the kitchen table up to represent the Hill o' Fare above Garlogie and Raemoir. The rules can make a battle swing either way with their initiative mechanism and the first game was no exception. 


The battle got off to a start with the Gordon foot charging into Errol's horse and coming off the worse for it, routing back into the rough ground to the rear with Huntly himself becoming separated and hiding in the bog. However Bissets foot now saw them off and and pushed forward towards the raw Aberdeen foot. These too were seen off but the rebels were now in a poor shape. Moray's foot came up and a desperate charge was launched by the Irvines, in an attempt to force their way clear and get home to Drum castle. Moray was wounded but saved by his men and Irvine's unit was broken. 

Game over and a pause for lunch to reflect. 

As this was a refight and not a balanced scenario the odds were stacked against Huntly's men. Even so , they were able to inflict losses and drive back the Aberdeen men. They were just too worn to make an impact on the well drilled Lothian troops. Losing Huntly and his unit so early also reduced the rebels chances of winning.

After lunch we gave Neil Thomas's One Hour Wargames a go. A very simple but well thought out set with limited unit types. We refought Corrichie and then had a larger across table game with randomly diced for units. Corrichie, using only three units a side was really too small but the second game was more interesting and looked and felt like a decent battle. These rules are worth a revisit sometime soon. I have some landsknechts languishing in a box and these would be perfect for a fun afternoon. 

Round two at Corrichie

Third Game


 Corrichie, Tillyangus, Corgarff and Craibstane are battles which will feature in my next book. They're all small encounters perfect for Pikeman's Lament. 

I've sold a few of my books from my last post .- but there are still bargains to be had and of course both Sugar Islands and Against Spain are still available too. 

Saturday, 21 May 2022

A Bit of a clear out - For Sale!

 Having reorganised my study and moved my bookshelves there was quite a few things which I've decided to sell off.  

Use the contact box on the RHS of the blog to get in touch if you want anything - postage will be £2 or £4 where the book is asterisked - these are quite heavy!!

UK purchasers only. PayPal please.

Force of Force - never used it £5


Saga Crescent and Cross - unwrapped but never used, with boards. £5


Field of Glory Napoleonics - never used either  £5


Mad Dogs & Englishmen - Colonial Rules - £4


Attack on the Junger - Charles Grant 18th Century Mini campaign - £10 sold


The Annexation of Chiraz - Grant and Olley 18thC - £10 sold 


Touching History - Spanish Penninsular (slight fading at top, but perfect inside) £4


Jena Auerstadt - Historical Collections £15  sold


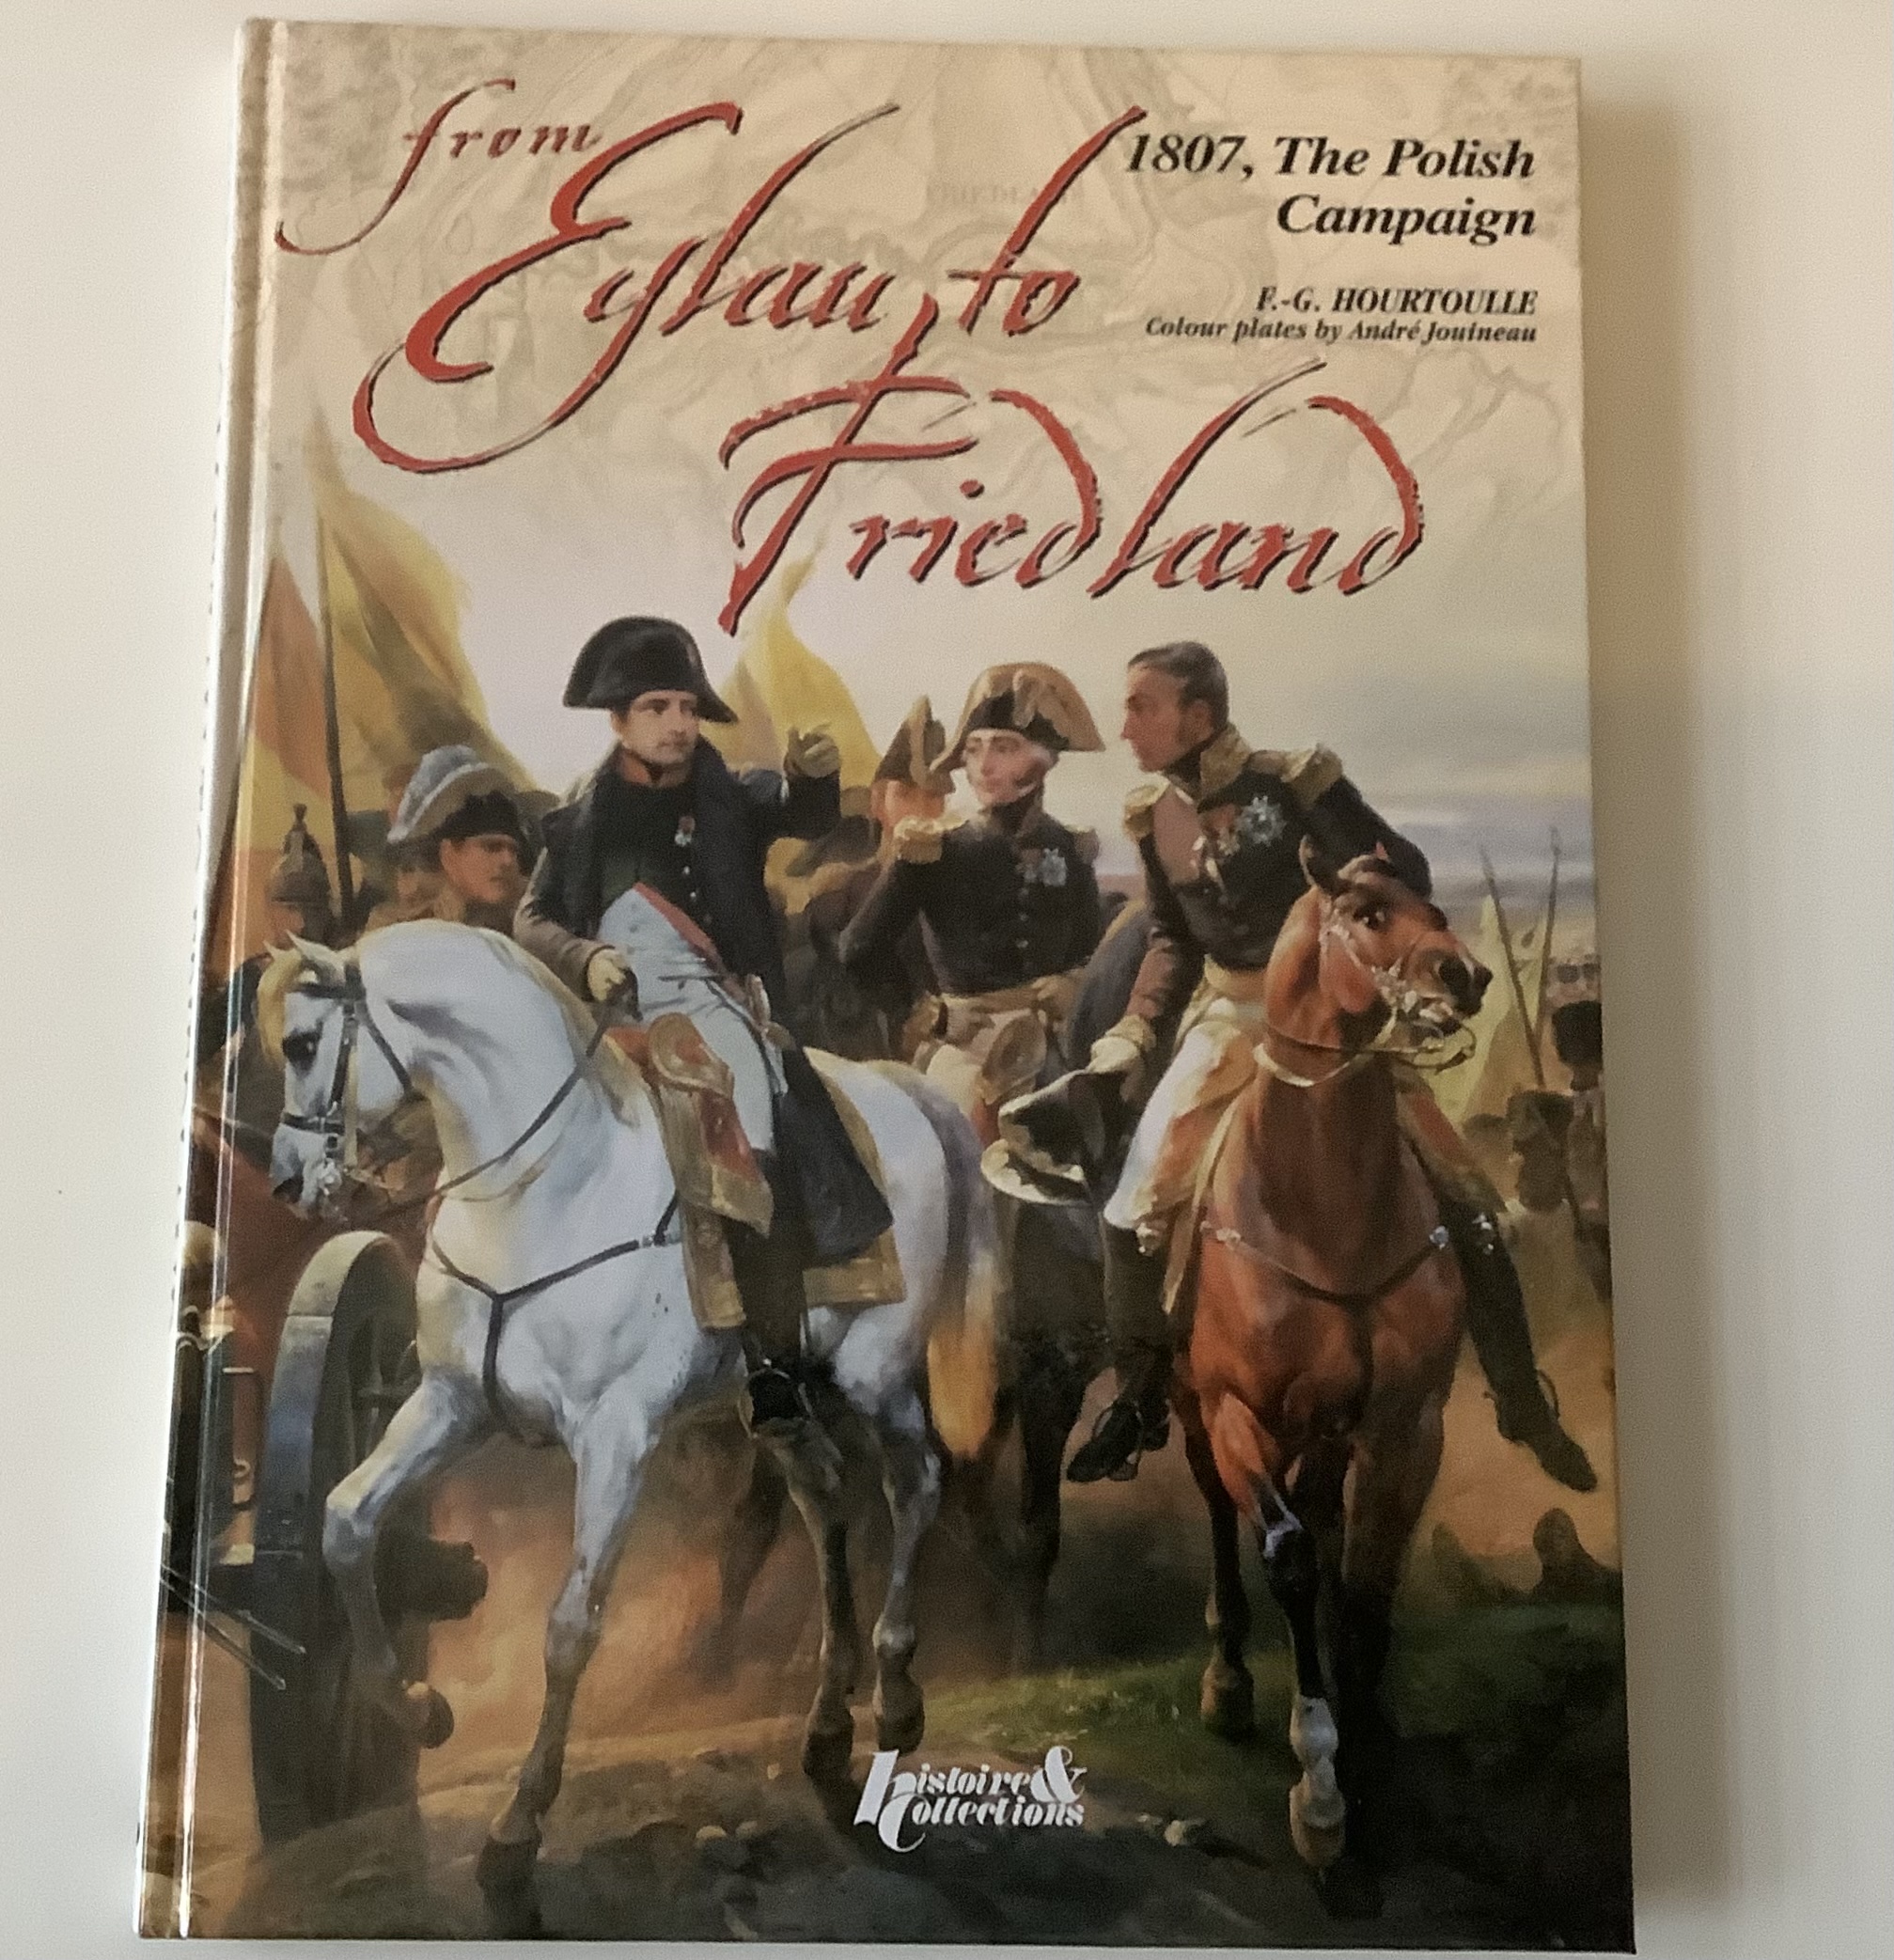
Eylau to Freidland - £15  gone 


The Boer War £3

Armies of Early Colonial North America £7 Sold


Lutzen and Bautzen, hardback £12*


Lobositz to Leuthen hardback, as new £15*  sold


Olmutz to Torgau, as new, hardback £15* sold


Art of Paul Bonner, £8


Regimental Fire and Fury £10


Regimental F&F Scenarios vol 1 £8 sold 


Hannibal and Punic Wars WAB £12


Osprey Portuguese Army Age of Discovery £3


Lutzen and Bautzen Campaign Series £3  gone 


Leipzig 1813 Campaign Series £3 gone 

Maurice - Sam Mustapha £12 sold


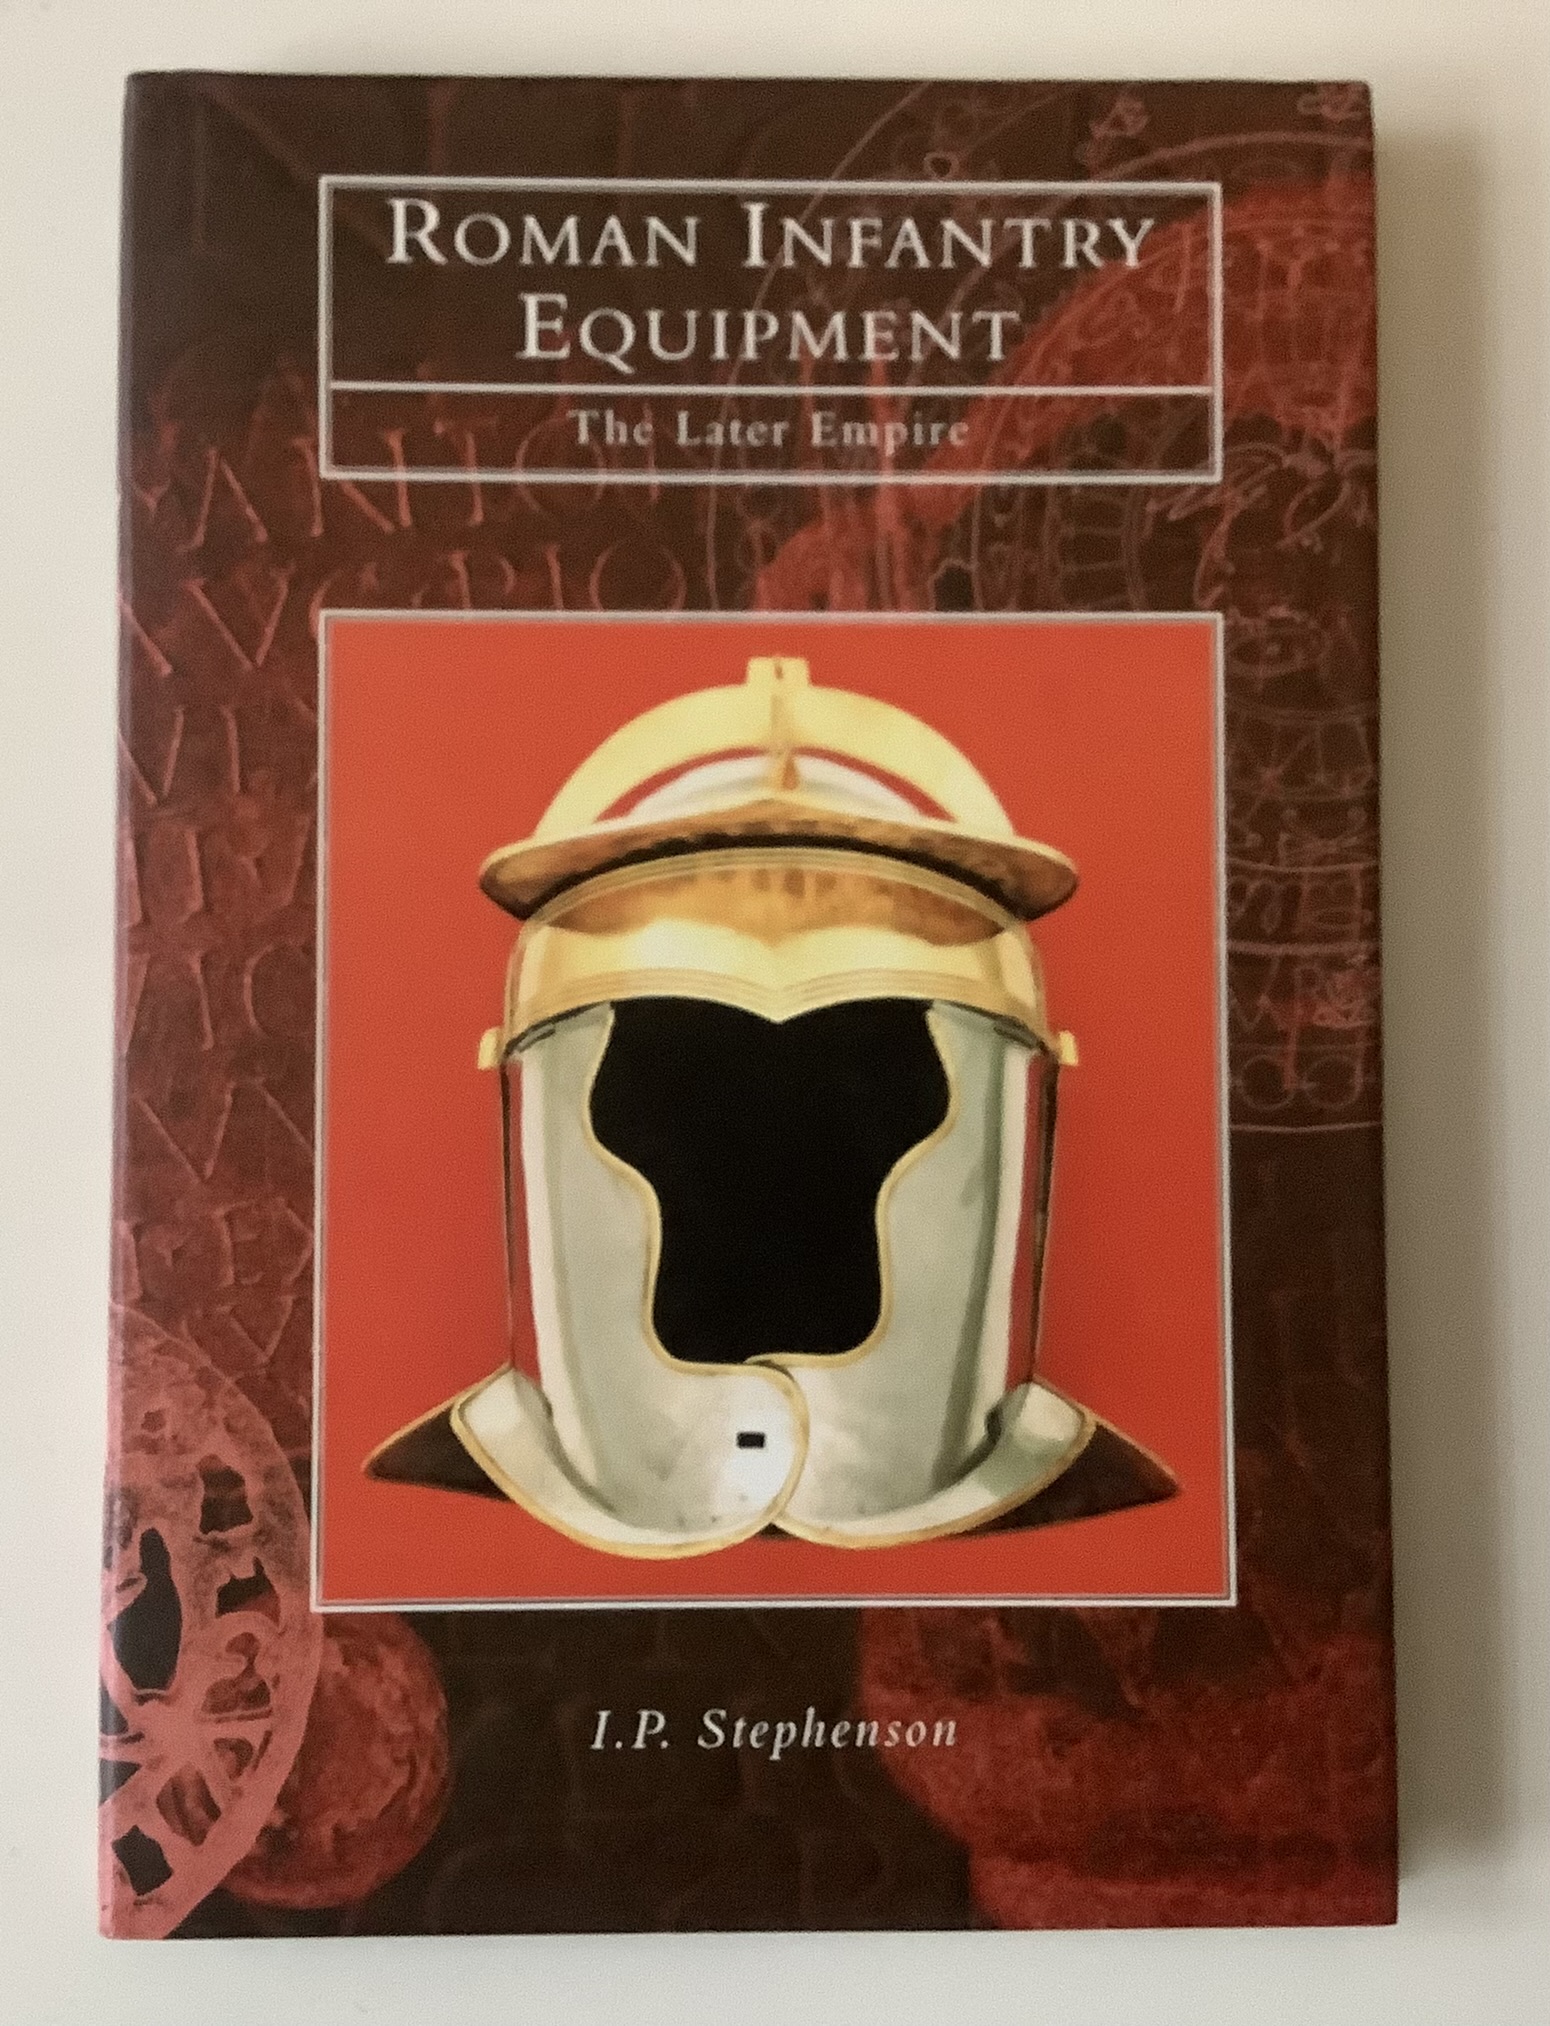
Roman Military Equipment (w/ a few pencilled notes) £5


Monday, 18 April 2022

Rebels and Patriots ACW Campaign Rules?

 A question mark, in case they don't work! Knocked up at lunchtime...


The Glen Campaign of 1862.

The Shenandoah Valley runs geographically from northeast to southeast West Virginia. During the American Civil War, it was hotly contested by both sides.

One of the “spurs” of the Valley was extensively colonised by Scots in the 18th century and thereby earned the nickname of “The Glen”. This too was hotly contested, though with far fewer men and in a far less well-known campaign.

The Confederate General Graham and his counterpart in the Union General Stuart each commanded a small, detached brigade of men and played a game of march and counter march, skirmish and encounter to capture and deny the other the key towns and river crossings of the Glen. Each hoping thereby to prevent the area being used to move troops around the flank of the main armies operating in the Valley. Truth was however, that both sides original orders became lost and in a confusion of paperwork, poor administration, geography and couriers with a lamentable sense of both duty and direction the main armies of either side lost contact with these commanders. Instead they were left to persecuting the war to their own devices for some time until being recalled somewhat embarrassingly by their superiors and promoted to keep their silence. Thus, the campaign was lost to history and forgotten, until now.

Campaign Rules

 Units

Each side has a pool of units to select from. They may field up to 24 points of units from that pool. However, as each unit takes casualties and suffers the affects of the campaign it will diminish and may be removed from the roster. The winning side in each encounter regains half its casualties from the battle, the loser, a quarter. Guns which lose their entire crew however are considered lost due to damage if they are not physically captured. Units may not be combined. Thus a unit will fall in strength and points value until it is too small to take part in the campaign.

The player may modify the profile of the unit as per the rules, for example making them veterans. The cost to do so is paid as normal.

Each side also has their General and a Regimental Colonel and Major to support them. Each General has 2 traits and their Colonel and Major have 1 each. One officer may accompany the detachment send to carry out a mission, (i.e. complete a scenario). They player is free to select which, but should they be slain or wounded the game rules apply as normal and they are not replaced. Should any side lose their officers then the game is over as their toops, lacking orders, surrender.

The Pool of Troops

• 10 companies of infantry – May be any class. Each coy is a unit from the rules (ie 6 or 12 figs)

• 2 squadrons of cavalry – May be skirmishers only. No shock cavalry. Each sqdn = 6 figs.

• 1⁄2 Battery of 3 guns – May only deploy a single gun per scenario. Cost of a limber is as per rules. Medium Guns only. Guns without Limbers may not move other than to turn.

• Ad-hoc specialists – the player may draw such men as required should a scenario so require.They do not count as a unit unless described as such in the scenario. 

Movement

The Union Player starts the campaign in Meldrum, the Confederate in Skene. Each player draws up their 24 point detachment for the mission ahead. They then write down where it is and where it is moving to on a piece of paper, folds it and hands it to their opponent simultaneously. Should the two forces collide then a battle is fought using the scenario generator from the rules. If not, then the detachment makes its way peacefully to its destination. Note movement may only be made along roads and rivers crossed only at a bridge. But the battle takes place anywhere along the road between the two points.

Should there be less points allocated to either side in the scenario to be played out, the player may only select the units which he has ordered to move to take part in the game. The rest are assumed to be off table. They may provide reinforcement, should such a benefit be rolled for in the game. Otherwise, such men come from the main pool or are sent from the main army in the Valley.

The Scenarios

The scenario (from the book)  is played as normal. Any odd situation caused by the campaign rules conflicting between the scenario and the rules should be resolved amicably by the players. The winner achieves the benefits stated in the scenario and is able to recover 50% of his loses. The loser is denied any benefits and only recovers 25% of his loses. The losers troops also return to their start point or back to their Depot of Meldrum or Skene, or away from the enemy if unable to do so.

Ending the Campaign

The Campaign ends when either side loses its depot or does not have the required 24 points in order to be able to field a detachment for a scenario.

So....give it a go..or wait to see how the results pan out. And in case you're wondering, the Glen is the Garioch, home of the Oldmeldrum wargames club!

Sunday, 17 April 2022

Rebels and Patriots - ACW

 Yesterday I popped up to see Graham H. We had planned to go to Culloden to attend one of the talks there, but got the days muddled. So instead we had a couple of games with Grahams fine 40mm ACW collection, which hadn't had an outing for quite a long time. 

To keep things simple we used the suggested army lists in the rules, picking two mid war sides. Some terrain was placed, a long road crossing a river with a stone bridge, and a church, quite an idyllic scene til the soldiers came!

The first game kicked off with Graham's Confederates advancing along the road over the bridge and deploying onto the southern side of the river. My union troops were a mix of veterans and green men, and the latter proved somewhat tardy getting off the road and into line. I had enough time to get a line of my Irish veterans out before the firing started. Graham started to move round my flank, but his gun was soon masked by his own men and was forced to redeploy onto the bridge. My new recruits were still sluggish, and at one point panicked and fired on their own men, but later  I received some reinforcements from the rear and eventually got myself sorted into two lines, bringing a halt to the Grahams advance. 

The Irish took several casualties and were forced back, luckily to a more protected position. My gun was now in action and wearing down the rebels to my front and the men in grey were taking casualties from my springfields too. My recruits were now in position to the right of the Irish and in time to catch a unit of rebels as they advanced over a hill. They opened up and the Irish managed a double volley and Grahams men were forced back. 


With the union troops gaining the upper hand and high casualties amongst the confederate ranks, it was time to call it quits for lunch.

After sandwiches in the patio in the warm Moray sun, it was time for game two. This time with early war forces from the book. Green infantry for me, supported by a gun and aggressive inf, a unit of cavalry and a gun for Graham. 

This time the terrain was more open the table being nipped in at its waist by two wooded areas, a cabin on the left and the county church on the right.

The confederates advanced quickly, cavalry galloping to the cabin and taking up skirmish line behind its picket fence. The rest of Graham's men headed for the church woods. Again my troops were sluggish and difficult to get moving, but I uncovered my gun early and this meant I was able to score some early hits. 

When I did advance I got the cavalry winkled out from behind the fence and drove them off and swung my line across the table. Grahams men were in the woods, and I couldn't get my troops to go in and get them - sevens to activate, kept rolling six. So a firefight erupted, and gradually I was able to bring my numbers to bear, although again the gun did most of the killing. Although my activations were poor, my morale tests were good and my troops held their positions, whilst the rebels were whittled down. 


Two quick games was good fun. Rebels and Patriots is a good system, though the guns were probably too much for skirmishes. We intend a to have a mini campaign, giving each player a few named units to draw on, and a few officers to lead them. This will let the units gain some history and the leaders some honour and add a bit of flavour to the games,

Friday, 18 March 2022

Against Spain - Advance on Guanabacoa

 We played the Advance on Guanabacoa scenario last week at Oldemeldrum Wargames Club. 


Im umpired the game and other than a direction or two, pretty much left the players to sort the tactical situation out themselves. What seemed to be a straightforward fight between some crack regulars and a larger number of militia turned into something completely different. 

Using rebels and patriots the British advanced and started to cross the stream, while eager to close and slow down their advance, the Spanish also tried to move forward. This didn't quite go according to plan, as you might expect when trying to move militia towards more resolute troops. 

The British however decided to sit in the streambed, perhaps enjoying the shade and cool water in the heat of the Cuban sun. The Spanish were able to pick off one or two here and there, but bringing enough of them up to have any effect was difficult. So, to try and force the issue the Edimburgo Dragoons were ordered into action and they trotted down towards the light infantry who seemed happy to sit in the stream.   


The resulting clash was inconclusive with both sides failing to cause any casualties, but due to the cover of the banks, it was the Dragoons who were forced back. The Spanish were struggling to control their men, one unit then a second ran out of ammo and poor activation rolls of 3's and 4's causing them to hold in place rather than advance to form a new line and instead it was decided to fall back an draw the British, who were still fairly fresh, forward. This had the desired effect, but now the Spanish began to take heavy casualties from the Brits. It looked like the Spaniards would soon be done for. One more turn though ....and this time casualties on the British lights, who had failed their previous check and were already disordered......the dice were thrown and a second terrible dice throw meant the lights, now in the open decided they weren't taking any more of it and turned and routed. With half of the British gone, the Grenadiers couldn't complete their objectives and the game was over!

Victory - snatched from the jaws of defeat!

What would this have meant for the British?

Further troops would have had to have been detached to cover Guanabacoa, but the Spanish had shown that they could fight and the remaining militia would have taken heart from the action. They'd certainly show more mettle and possibly have landed more troops in an early attempt to drive the British back to the sea. Guanabacoa may have served as the jumping off point for further attacks, threatening the vulnerable British flank and rear.