The French had mmanaged to prepare trenches and had dug in two small guns which caused the British some discomfort until they found a way to outflank the position.
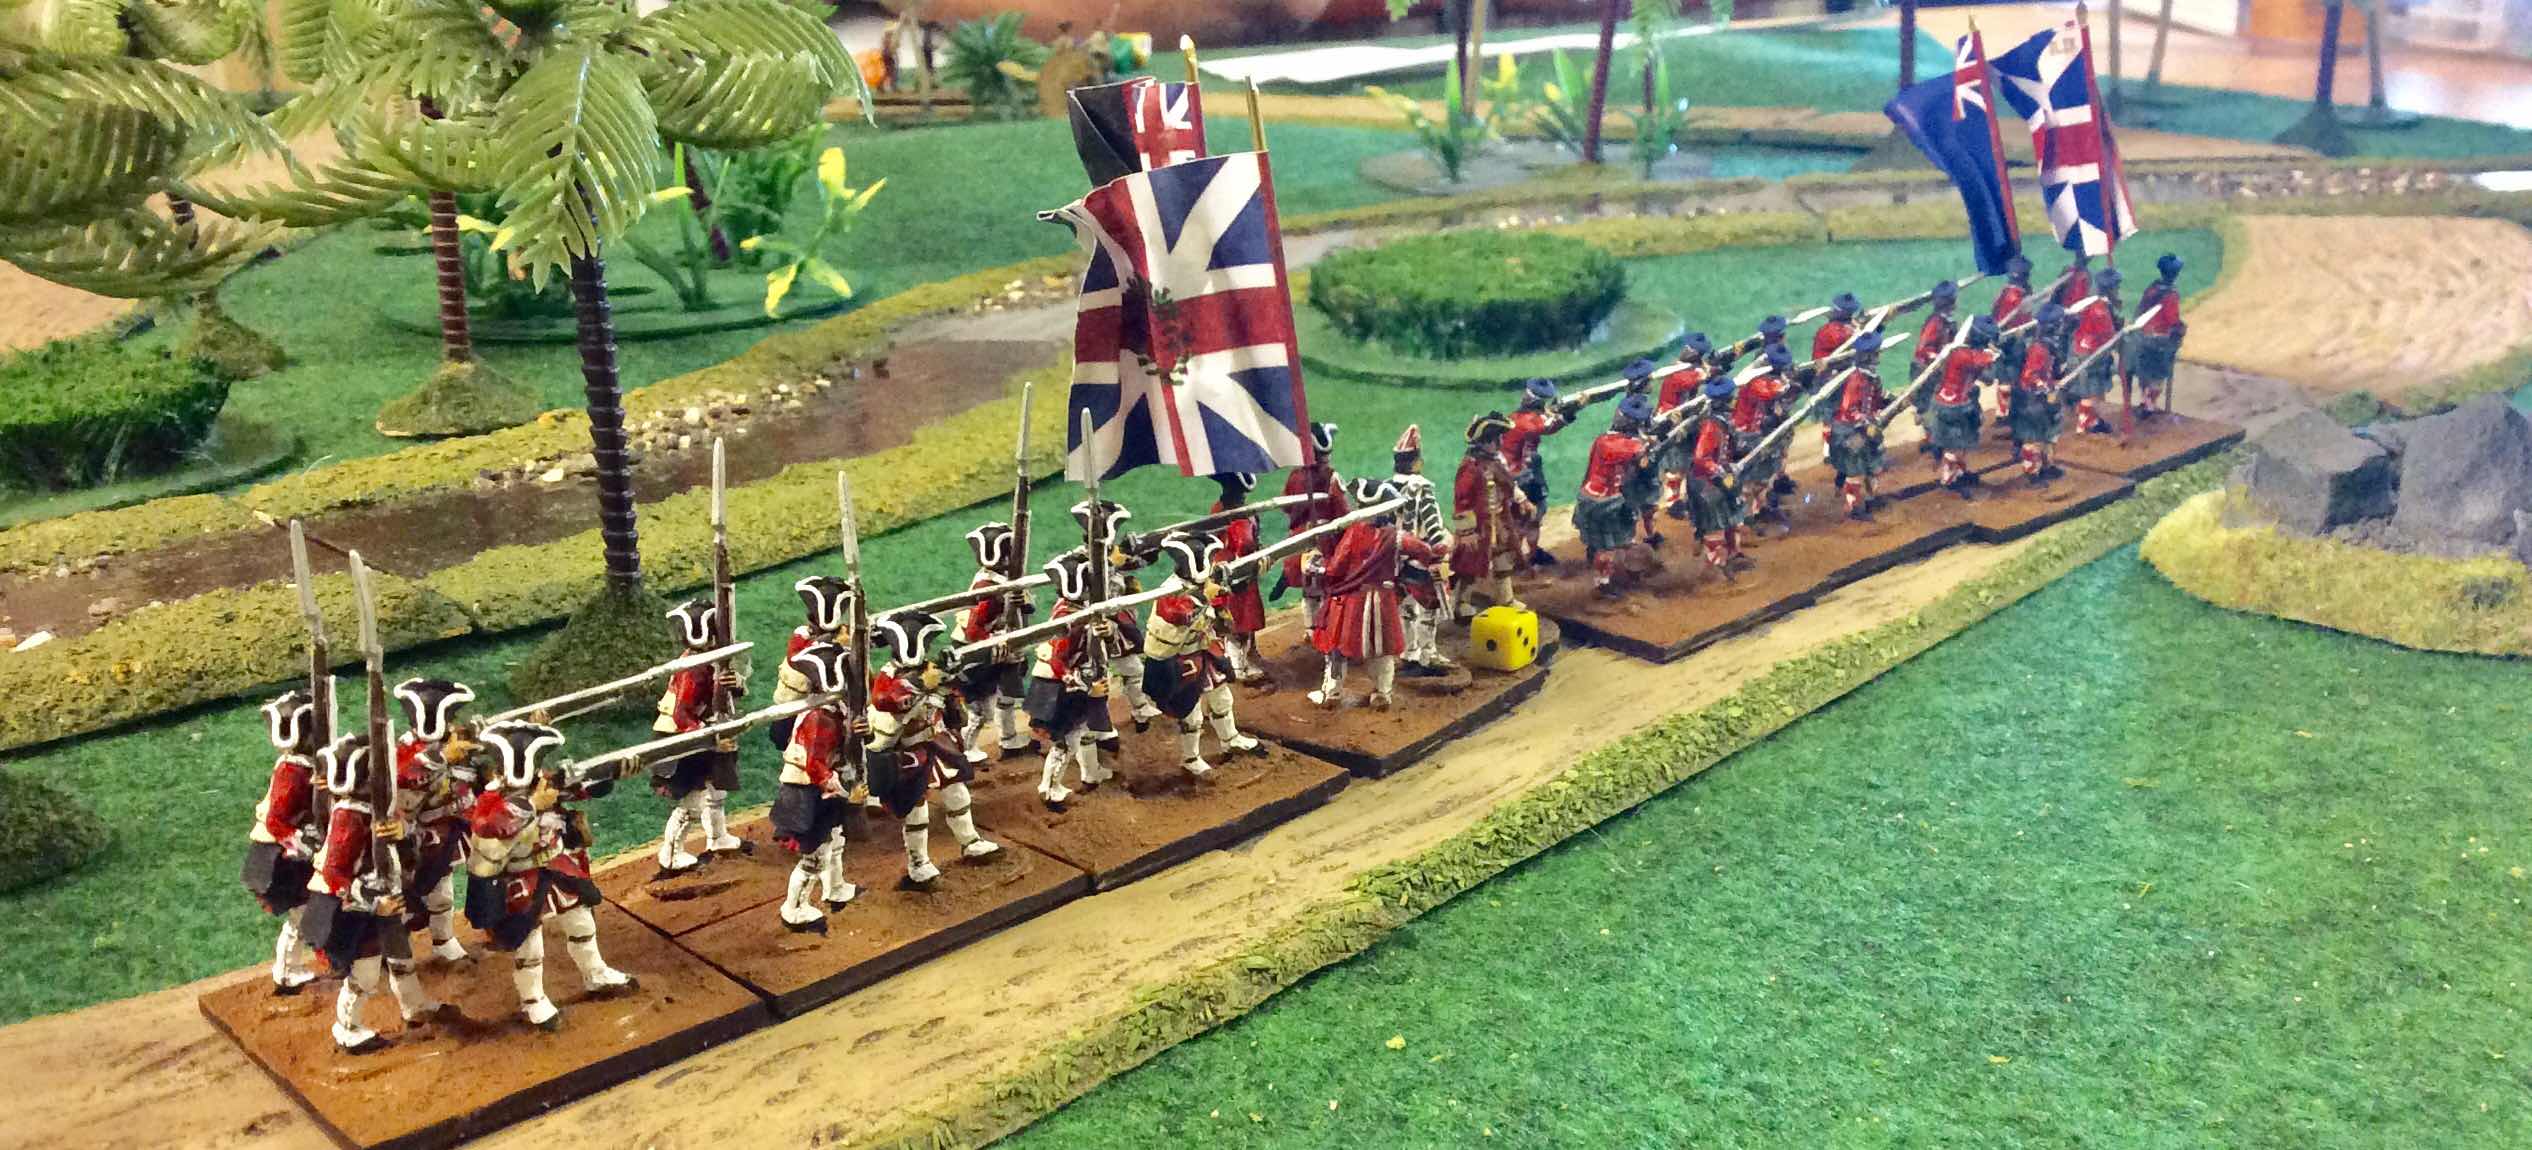
My scenario had 4 units of British, 16 figures each including the 42nd foot, facing 5 French - 2 Marines, 2 militia and 1 large unit of armed slaves, plus two light guns. The French position was on a slight hill behind a river which was crossed by a bridge. The road forked just in front of the bridge and led off to the right hand table edge where the river was crossed again by a ford.

Once again I used Jim Purkey's Fife and Drum AWI rules. They are simple, straightforward and work well for this size of game, played over a couple of hours and using a few units a side. The French marines and militia were regulars and well militia, armed slaves moved as militia but fired and fought as Indians. The British were all regulars except the 42nd who fought as Grenadiers, reflecting their shock role.
The game took place at Oldmeldrum on a small 3x4 layout. The British, controlled by me marched up the table and the highlanders and another unit quickly took the road to the ford. The other two units formed up before the bridge and gave the French, commanded by Alastair, something to shoot at. Even at long range with the guns shots began to whittle down the redcoats, but their morale was good and they shrugged off the odd casualty.
The other two units were heading for the ford, screened by thickets of jungle and scrub. Alistair detached two units of militia to head them off and it became a race. One feature of Jim's rules is that the winner of the initiative roll gets to either move or fire first. First fire means incurring morale tests which may leave your opponent shaken or even routed, so once battle is joined it becomes important to decide carefully who does what. The highlanders crossed the ford and deployed into line, unobstructed by the militia who were still rushing down the road. Thus they were ready to engage them the following turn and with several volleys broke them and sent them back down the road.

At the bridge the other two British units, hearing the firing from their left, formed column and began to cross. French cannon fire began to become more telling and once across they were within canister range. One unit broke and ran back over the bridge, leaving the 38th to stand alone.
By now however the highlanders had arrived on the flank of the French position. Both units of militia had either routed or been shot to pieces and were no longer effective. Alastair was forced to deploy the armed slaves to shore up his position and deploy a unit of marines across the flank of the highlanders and their accompanying line unit. He also decided to try to save one of his guns and hitched it up to a limber to withdraw it.

Back at the bridge the British fixed bayonets and charged into the French defences. The remaining marines were quickly overrun. The highlanders drew claymores and charged into the armed slaves, but as they did so the remaining French marines got off a volley which surprised the accompanying line unit. It failed a morale test (double 0's!) and routed to the rear, leaving the 42nd on their own. However the slaves didn't stand a chance and they tooo turned and fled.


The British suffered 20-25% casualties in their lead units however the two units which failed their morale tests had recovered and were still fresh. The French on the other hand had only one intact marine unit and had suffered heavy casualties amongst the milita and slaves and had lost a gun. With their position taken the battle was over - a fairly historical result!
By now however the highlanders had arrived on the flank of the French position. Both units of militia had either routed or been shot to pieces and were no longer effective. Alastair was forced to deploy the armed slaves to shore up his position and deploy a unit of marines across the flank of the highlanders and their accompanying line unit. He also decided to try to save one of his guns and hitched it up to a limber to withdraw it.
Back at the bridge the British fixed bayonets and charged into the French defences. The remaining marines were quickly overrun. The highlanders drew claymores and charged into the armed slaves, but as they did so the remaining French marines got off a volley which surprised the accompanying line unit. It failed a morale test (double 0's!) and routed to the rear, leaving the 42nd on their own. However the slaves didn't stand a chance and they tooo turned and fled.
The British suffered 20-25% casualties in their lead units however the two units which failed their morale tests had recovered and were still fresh. The French on the other hand had only one intact marine unit and had suffered heavy casualties amongst the milita and slaves and had lost a gun. With their position taken the battle was over - a fairly historical result!