Showing posts with label Rebels & Patriots. Show all posts

Sunday, 30 July 2023

Project Alma - the Battle

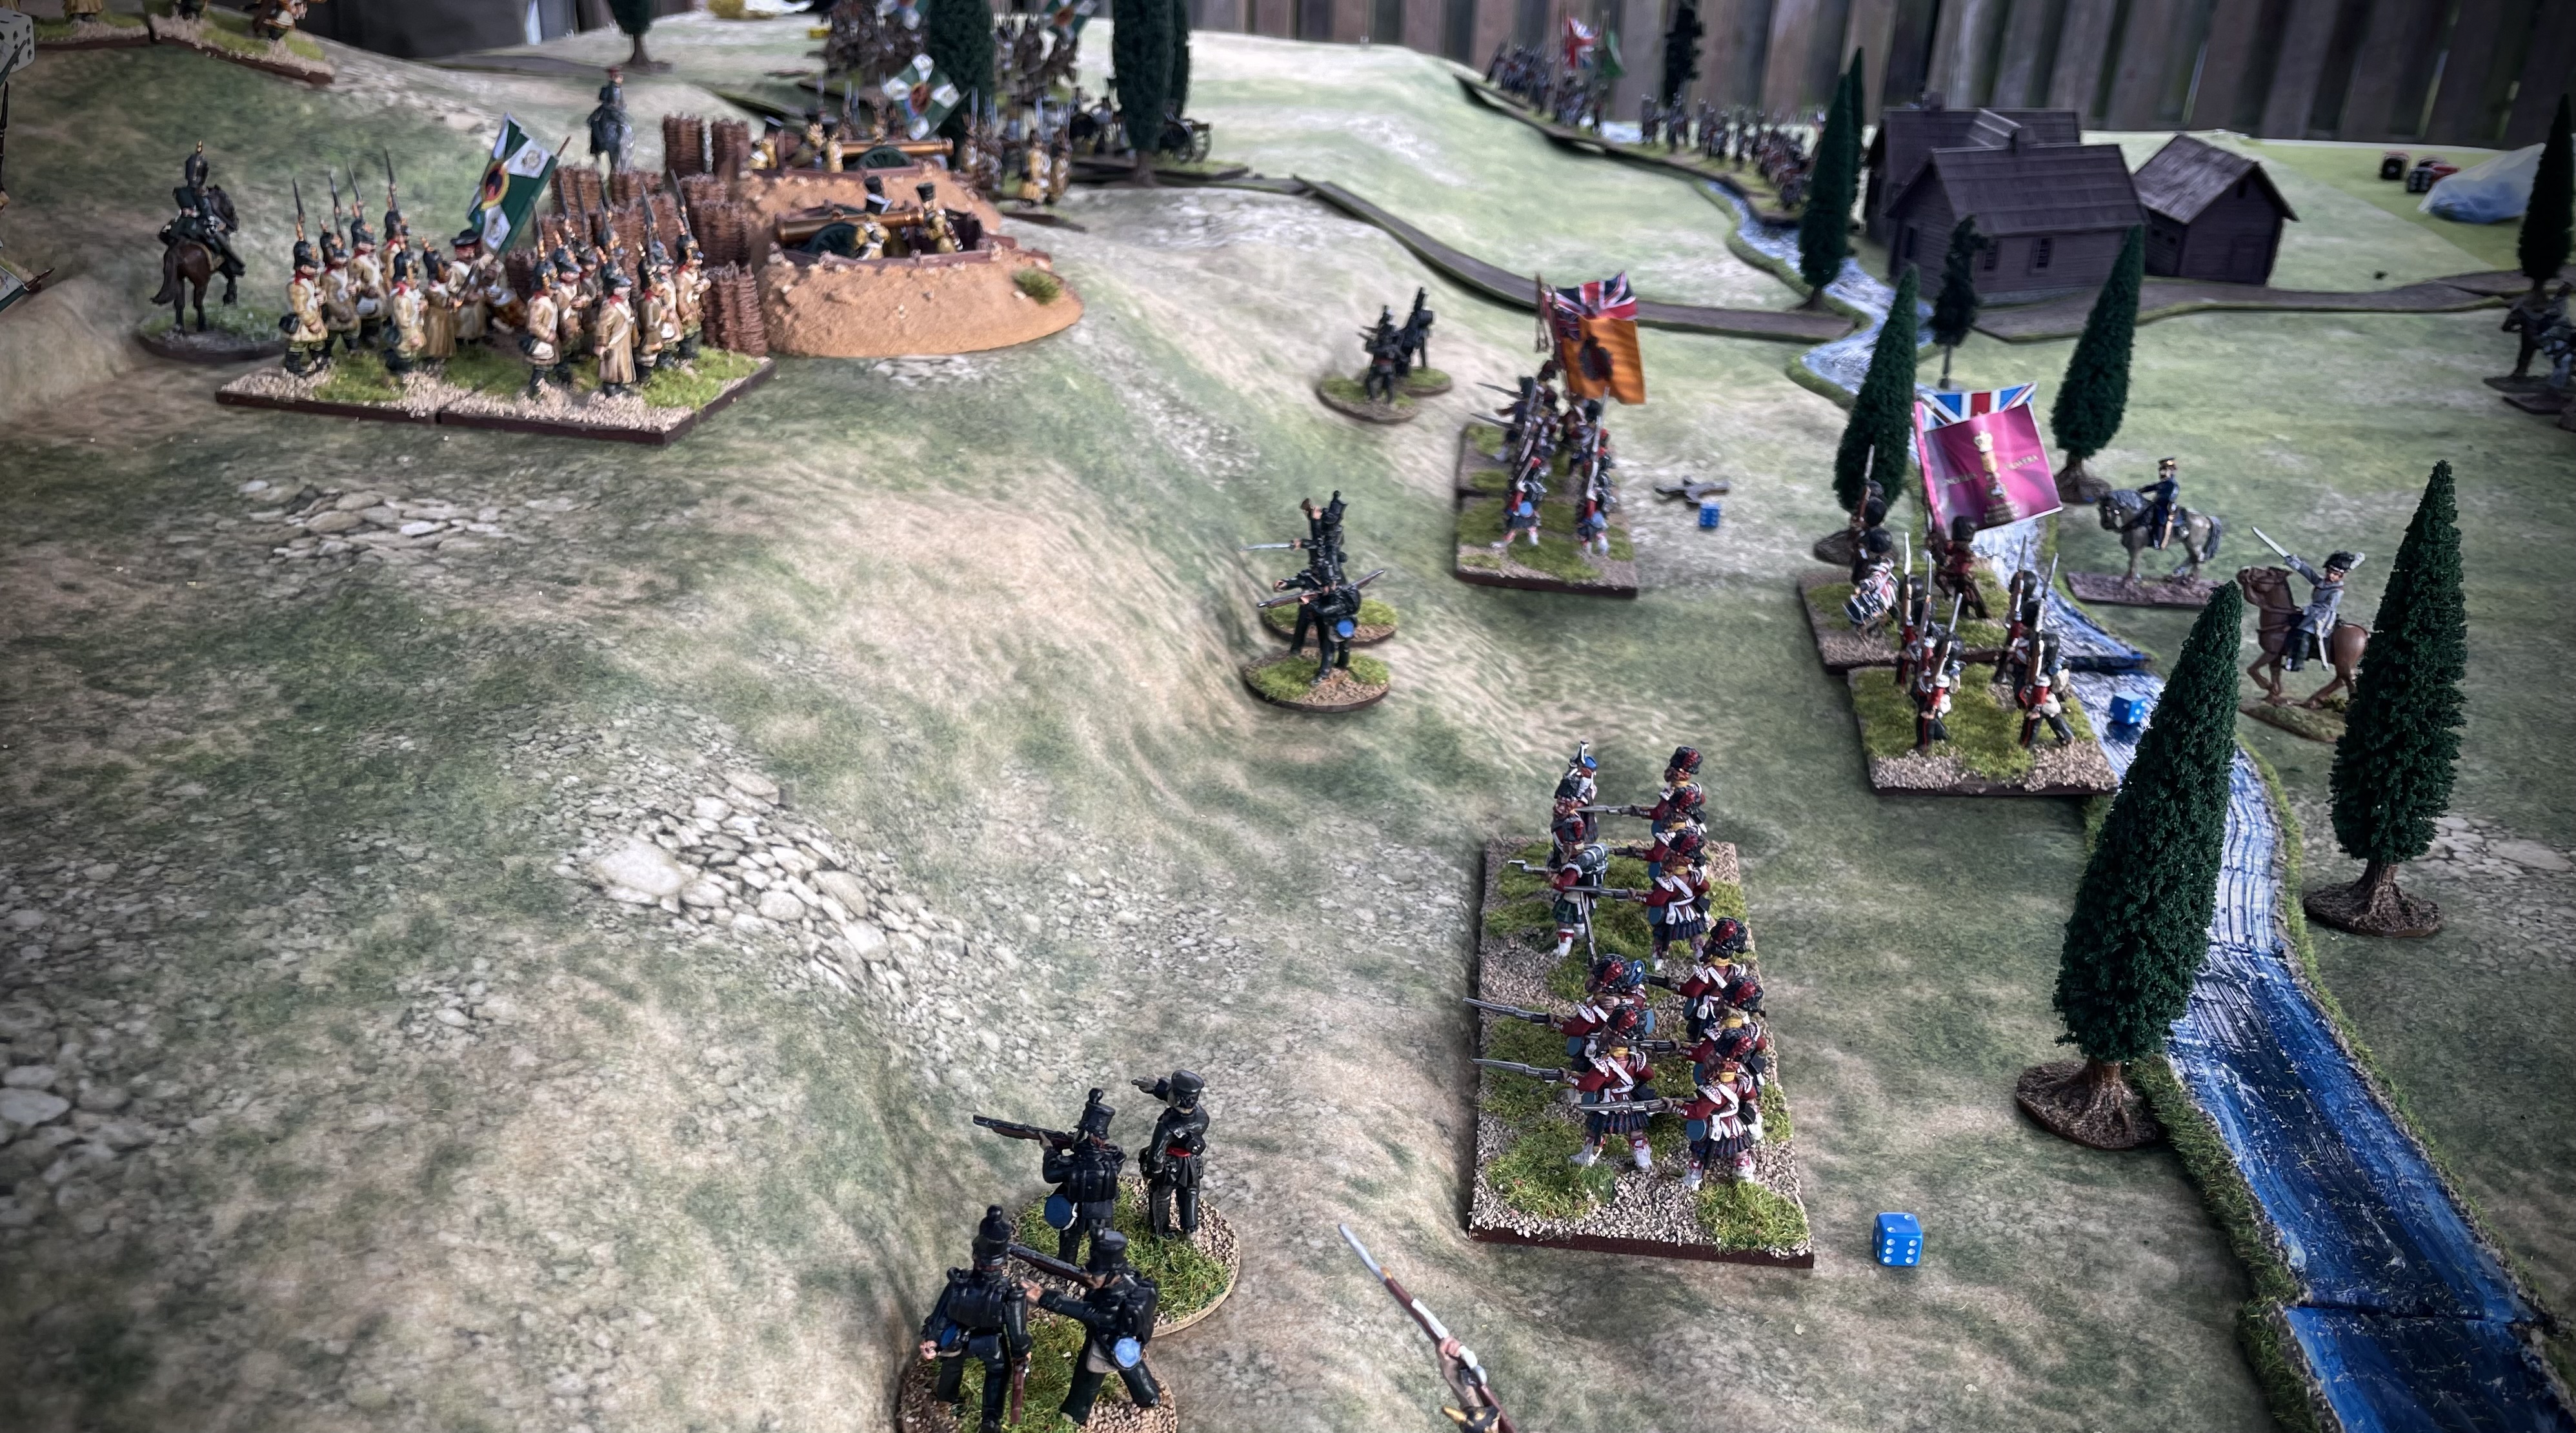
 Yesterday I had some friends over for a game. In the warm sun (and blustery breeze) we played the Alma game I've been painting up figures and getting scenery for. 

The breeze played havoc initially with the gazebo we played under and a few times blew in and knocked down trees on the table but it died down and we spent a very enjoyable afternoon playing the scenario, based on Neil Thomas's from his 19th Century Wargames book but using the mechanisms from Rebels and Patriots to play the game. While we played our wives chatted in the other corner of the garden and we got together for a nice Turkish inspired meal cooked by my wife. It was a cracking day.


 But back to the game, John and Eric took the British and  Bill and Graham the Russians. Things did not go well for the Brits to start with, kicking off an artillery duel against the more numerous Russians meant the Royal artillery were soon in disarray - one gun knocked out and two forced to retreat. The Russians then began to open up on the infantry and John and Eric's dice throwing for activations was so bad that I had to intervene as umpire and inform them that Lord Raglan had moved his position so that they could get an additional CinC bonus and actually move things forward ! 

Starting Postitions

The high water mark


This did the trick and after dinner in particular the Brits were able to get moving and cause some real damage to the Russians.  Bill and Graham hadn't got things all their own way. A couple of blunders meant they accidentally fired in their own men, and once they got in range of the British on their left they were losing men quite quickly. Graham's guns in particular holding back the British around the village and the right of their line. 


Eric had by now managed to get his dice properly warmed up and was able to send his men up the slopes, but they were too few to cause enough damage to the Russians who began to advance towards him. Their large units soaked up 16 points of damage compared with 12 for each British. John was still stuck on the British right and although another Russian unit made its back to its box, it was clear that the British had no chance of taking the day and we wrapped up the game. 

Id painted up two old Tradition 30mm Crimean figures by Charles Stadden...one for Best General and one for unluckiest. Due to his activation rolls in the first half of the game Eric took the Unluckiest home, while Bill gained the Best General award. 

A great days gaming, good company, a few beverages and fine food with friends. 

Now....what do I need for Balaclava?.... 

Monday, 10 April 2023

Rebasing my Crimean War Figs - Project Alma

 Some time ago I read Matakishi's Blog article about his Crimean War project. I've already based my 16thC figures on the 80x60 units bases which he uses for his projects. I am a big fan of Neil Thomas's books and have amended his Napoleonic book rules into a set which gave some good games. My Crimean war figures were individually based and as the collection grew this became a bit clumsy. I was using movement trays and things were getting fussy...

And I want to do a big Crimean war game for my Birthday in July. 

Put all that together and there's a big case for rebasing. So I went for it. 

My British will be the Guards Brigade, the Highland Brigade and two line regiments and the 95th rifles. Supporting them will be light cavalry in the form of Lancers and Hussars along with several guns. 

Facing them are 3 brigades of Russian Infantry, 12 units in total , with Skirmishers, Cossacks and Artillery in support. 

The infantry will be two stand units, each of 6 figures for the British and 8 for the Russians to simulate  their bigger units. Cavalry will be in two stands of 3 and one gun will represent a battery. Skirmishers will be units of 6, but these will be based on 3 round bases of 2 figures. 

I have enough figures to do all of the British, albeit I need to paint two units and I am short of some of command figures for the last 3 Russian infantry, but that's very easily fixed. My figures are a mix of Warlord plastics for the Russian infantry and Great War for most of everything else. 

For rules I will either be sticking to Neil Thomas's 19th C set or I will take Rebels and Patriots a little bit off piste and and use the units in there as regiments - this partly influenced the number of figures on my bases. Originally my units were 12 and 18 strong, 16 is the size of a large unit in R&P, so easily accommodated. I like the activation rules and the blunders in R&P and while the Crimean war may not be that rule sets intended scope is it smack bang in the middle of its range. Homemade rules are a third option.

I know the Russian regiments were much much bigger than the British. But this disparity in scale is lost by the execrable performance of the Russian army. Their big units on the table are still a threat, because they can soak up damage allowing them to close and they are supported by some decent quantities of artillery. The challenge will be in their deployment. The British command is poor - their challenge will be activating to defeat the larger number of Russians before they are overrun. Well that's my hope - I'm keen to see how it plays out and if it goes well I may fill out the Armies to include British heavy cavalry, Turks or French and some Russian Hussars and Dragoons and do Balaklava too. 

(I am also keen at some point to use the Russians against 1848 Hungarians, Neil's rules make this very do-able....but more on this another time...I'm sworn to secrecy!).

So I plan to have the figures finished by the end of April and terrain ready by the end of May. I need some slopes but have plenty polystyrene to use. I have buildings and everything else. 

This week I've painted 5 guns and crew and finished painting the 42nd highlanders. Not a bad start...one British regiment to go and then I need to do a LOT of basing!


Friday, 17 February 2023

Canadian Patriots Rebellion - test game

 Last Tuesday there were a few folk away and numbers at the club were low so an off the cuff Rebels and Patriots games was arranged as I hadn't put my boxes of 1830's British and Canadians away I took them along with my snow mats and winter fences and we played a scratch game of the early rebellion using the stats for forces from the R&P rules. 


I need to paint the edges of the roads white and look at a simple method of adding snow to the house roof.

We played two quick games, in the first, the British, commanded by John, decided to shoot their way across the river, but skirmish fire from the Patriots held them back and nibbled away at the units. I was unable to being up the larger units of Patriots to support my skirmishers and when I did one of them got shot down in pretty quick order. However by now John was not in any fit state to force the bridge and we wrapped up the game.


In the second game I took over the British and determined that a little more dash was called for, so sent two units straight up the road and over the bridge, while two units fanned out to screen.Johns dice throwing improved and he was able to bring his skirmishers into play against the column and men started dropping. The lead unit stalled and with Patriots on three sides was quickly down to half strength and less. Casualties were mounting on the second unit two and when the advance unit inevitably failed its morale test, everyone piled back across the bridge.


Two quick games, two different approaches and two similar results.

But historical ones. In the first actions of the revolt, the British sent a force to St Denis and it too was forced back. neither John nor I were able to do much better, indeed we failed to get anywhere need the building, but as games go it was good fun to play and I have to say I think my figs and terrain went to tether quite well too!

Figures from Empress and Studio Miniatures (now Bicorn) for the British and Artizan and North Star for the Patriots. Mat from EBay, fences from Emperor Toad and roads from way way back! Trees are last valley and the buildings are Conflix

Friday, 11 November 2022

Patriots Rebellion & Retreat from Kabul - Artillery Crew

 Artillery crew. The fellow in the fine helmet is a Bengal Horse Artillery gunner. 

He won't be serving in Canada but will be on the retreat


I also rebased my 16thC Irish/Highland Scots to match my other 16thC stuff. A mix of Perry and Scheltrum figures left over from when I painted figures for the Harlaw anniversary game. Currently flagged up as Irish I can switch them over to Huntly's missing allies from Badenoch and Sutherland should I please, or even the highlanders who fought against the 6th Earl at Glenlivet. 


Sunday, 6 November 2022

Patriots Rebellion - the British and the Patriots

The Patriots Rebellion was an uprising in1837-38 by discontented french speaking Canadians who wanted to maintain their heritage and culture in the face of anglicisation and who sought a wanted to restore a French speaking Canada or a least part of it. As the uprisings were dealt with in Canada, some of the leaders crossed the border to the US and, pushing on an open door, managed to recruit support which led cross border incursions into Canada between American sympathisers and the British army. Now that's a greatly condensed and simplified attempt at a summary that leaves out a lot of details, politics and subtlety. But this isn't a history lesson it's just an introduction!

The British deployed elements of several line and militia regiments to deal with the situation. As many of the actions were fought in cold weather 1830's British in greatcoats from Iron Duke from Empress and Studio, now from Bicorne can be used. The Militia are a bit more difficult, but as they tended to follow regular uniform or wore civilian clothes, some assumptions can be made. The European figures in Empresses various 19th ranges are a good start. 

Below is a picture of the British Troops I'll be using.


Artillery, Scots and Militia still to come.

The Patriots and their American allies are more difficult to represent and ranges for the SYW, War of 1812 and Alamo have to be plundered to come up with figures. Happily though these ranges have some great sculptors and similarly scaled figures. I used North Star Musket and Bayonet figures and some Artizan Texans. The blanket coat was a popular and practical winter garment and the hunting shirt was commonly worn too. The only thing I tried to avoid was Indian style leggings. The only thing which I've not been able to find -and my modelling skills are too poor to allow - is the folk who didn't have firearms and were armed with pikes and agricultural implements. 

Below are my Patriot figures. 


These were painted for me by Stuart Foley and rather good they are too. 

Scenery and terrain are easier - stone or timber buildings from the AWI are perfect. Rail fences common and north American scenery in general is spot on. I'll be picking some fences up from Emperor Toad who makes some nice winter scenery.  There is one iconic building which I need though and that's a large, tall stone windmill. I may have to get that custom built - we'll see!

Thursday, 16 June 2022

Holiday Gaming - Part 3

 The Glen Campaign 2

To Forres yesterday for another game from our "it's not quite the valley as you know it" Rebels & Patriots 40mm Skirmish campaign. 

As we left it Confederate Captain Dashing moved from Kintore to Machar and attacked Union General O'Neil with his small mixed force. We had rolled the Bullets and Beans scenario which meant that I, as O'Neil was in camp when Dashing appeared with 4 units of infantry, (inc one vets and one with obsolete weapons) and a gun. My 3 infantry units and a gun (ie the units which O'Neil had available - 1 vet, 1 reg and 1 green unit) were in camp and only one unit could occupy each of the 4 sections meaning Dashing had the advantage, despite the cover offered by the camp. 

Things got off to a dodgy start when my Irish vets became disordered and withdrew from their section but the following turn the regulars delivered a stiff volley and the gun sent canister into the advancing confederates. This coupled with Grahams units getting tangled and masking his gun gave me a breather and I was able to drive the confederates back while I rallied my men. 


The battle was not to go all my own way however - with his line of fire now cleared Graham was able to whittle down the crew of my gun and force it back. I threw my green volunteers forward to occupy the now empty sector and they were able to hold on while the Irish and the regulars blazed away. The order began to turn and along the Irish and the gun were worn my other two units had no hits. Graham had taken some hefty volleys and lost the first of his infantry units, followed by a second a few turns later. Turn 7 rolled round and the confederates were on the edge of the camp. 


Another turn (8) of  union fire kept them out and caused a second unit to break, but all of my units were now disordered though only with light casualties. Graham had lost a second unit from disruption and we rolled the die for the end of the game...and it was all over. My men had managed to just keep the confederates out of the camp and had suffered  lighter casualties. The confederates had suffered from accurate musketry and couldn't quite get into the camp. 


We totted up loses and wrote orders for the next turn. This time Stuart led his detachment down to Kintore while O'Neil advanced from Machar. This move trapped Dashing in his camp - the boot was on the other foot. But the confederate camp was an all together more solid affair  and Stuart, reinforced by O'Neils artillery would have his work cut out.

Dashing cut off in Kintore by Stuart and O'Neil

Overall this is turning out to be a neat little campaign. The rules in Rebels and Patriots are able to handle this extra dimension driving the game and the campaign setting and mechanisms are able to fit with the rules. I can see this map being used again for campaigns a bit closer to home, perhaps the retreating Jacobites and their Hanoverian foes, the Earl of Mar and the Lord of the Isles and Bruce and the Comyns, all of whom stomped over the same ground. 

Tomorrow I leave for Kenilworth for the much delayed Wild Geese 2020 nope, 2021 er make that 2022 weekend. That promises to be a great weekend and finale to my hols. 3 years since our last weekender this is going to be special.

Friday, 10 June 2022

Holiday Gaming part 2 - The Glen Campaign

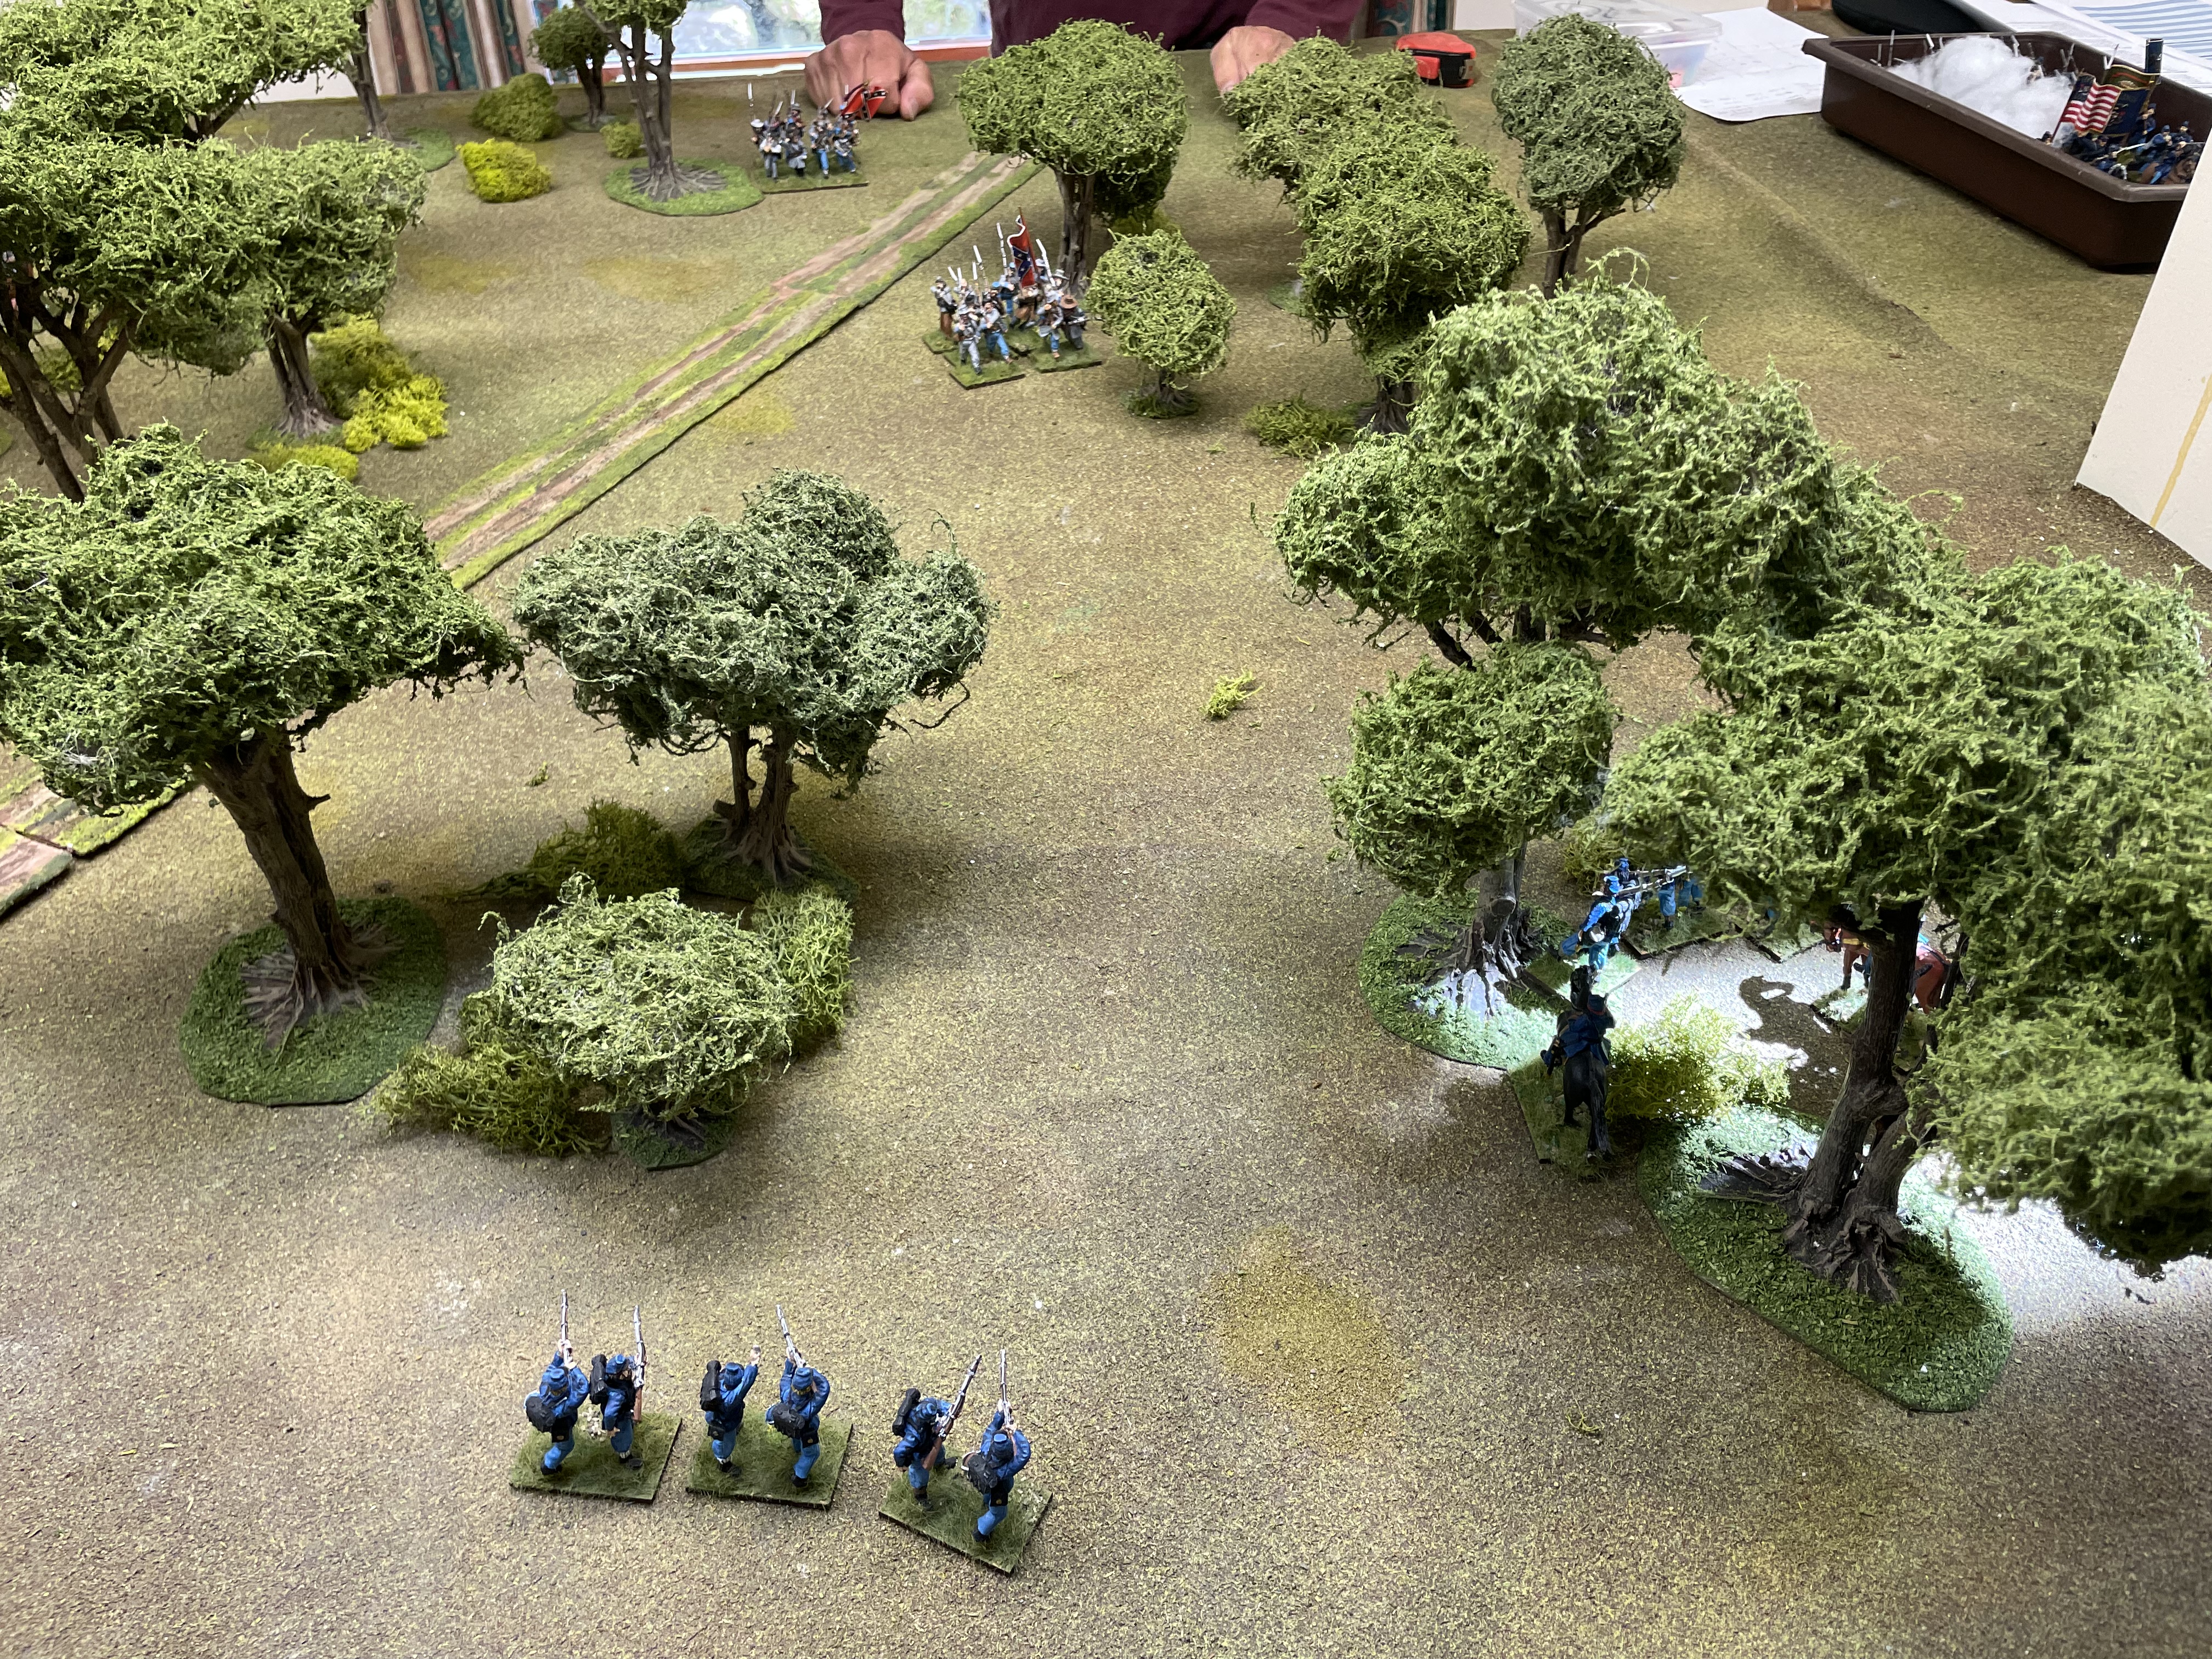
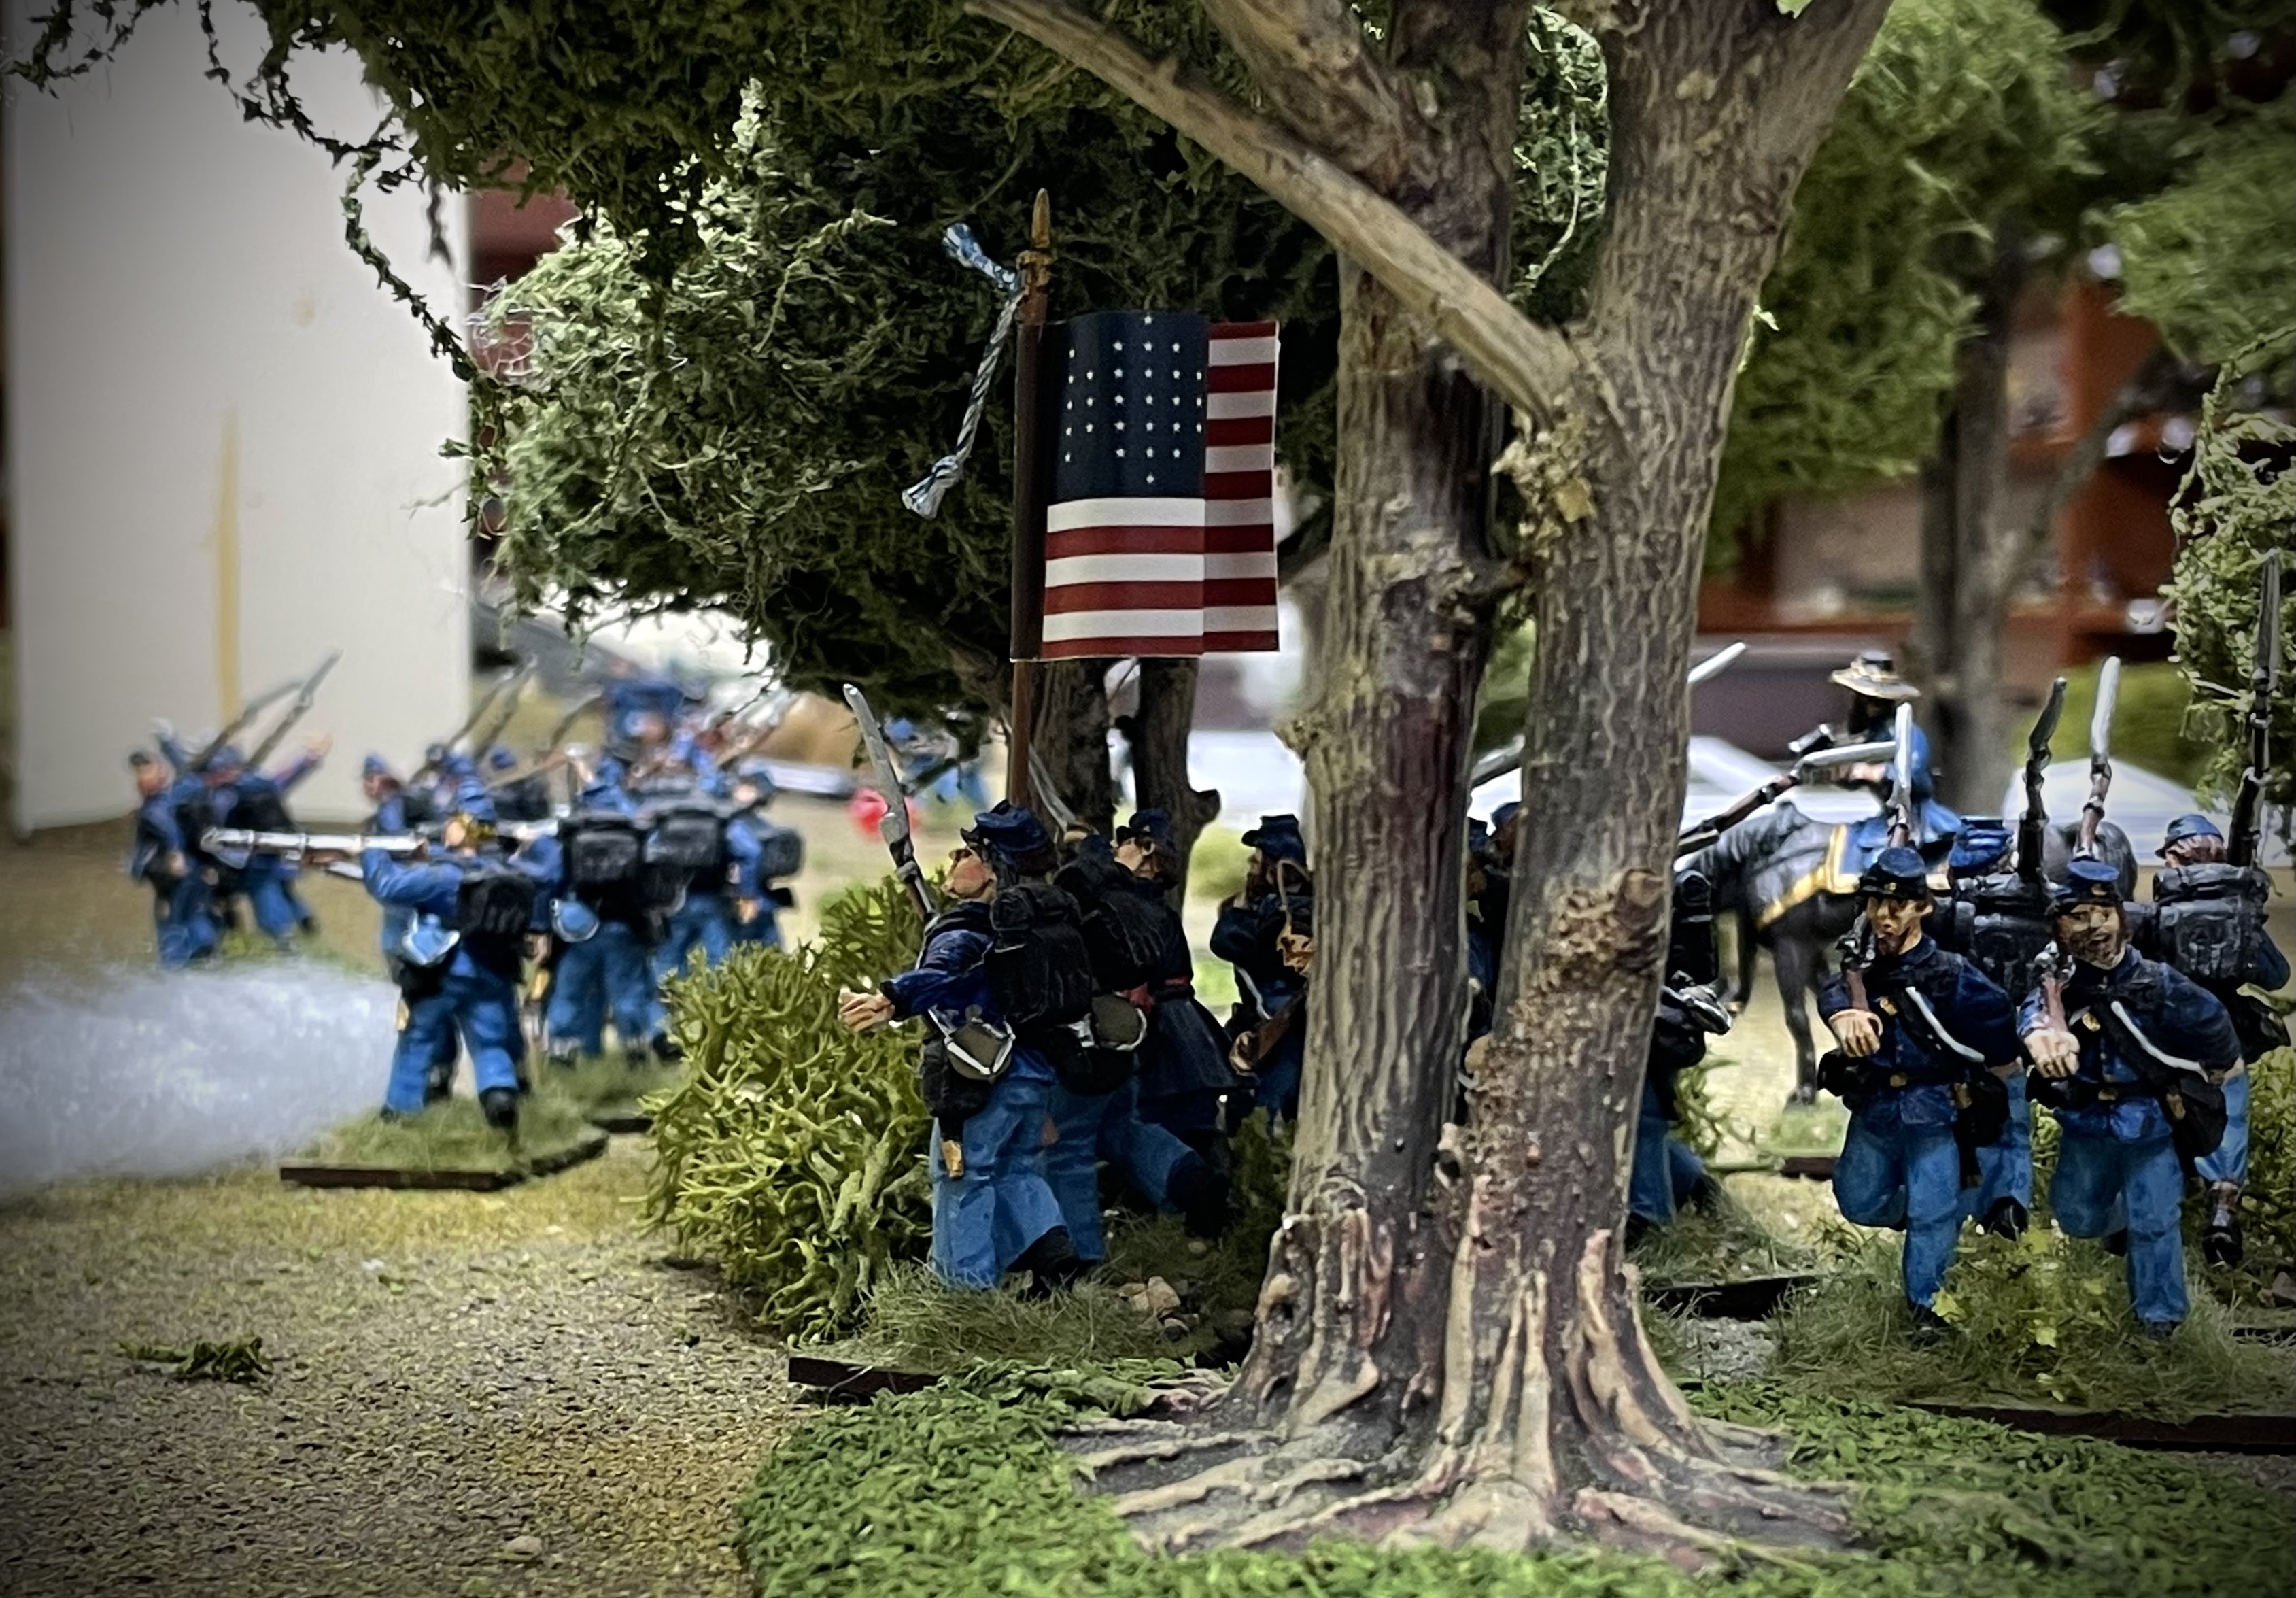
 For my second holiday game I was up at Graham H's where we kicked off our 40mm ACW campaign using the simple rules and map which I knocked up a short while back. 

This was not a detailed reflection of military strategy and tactics...just an mechanism to get some games played in a sort of framework, and it looks like it's done its job!

We drew up our armies, 10 units of infantry, (including a mix of green, regular and veteran types, aggressive confederates and a sharpshooter unit for the union) and 2 squadrons of cavalry and 3 guns each. We also rolled up 3 officers - A major and two captains, each with their own traits. 

Starting off at our depots we wrote orders for our commands and then revealed them. The first move didn't see any action but soon my Union Captain Chambers bumped into Confederate forces under Captain Flash in some woodland near Harlaw. 

As defender, my role was to get my forces off the table ....the table diagonally opposite where I  was positioned and with a mixed bunch of 1 green, 1 regular, a small unit of sharpshooters, cavalry and a gun my job wasn't going to be easy. Graham had two regulars, a veteran unit and a gun in the woods to my left. 

I needed to get off the road and into the woods in my right and get up the table as quickly as possible so I used my sharpshooters and cavalry as a screen to hold off a unit of regulars which I could see coming off the road to block my path. I got my green troops moving and screened my flank with my gun and regulars, opening up with the former at Graham's vets who were moving through the clearings to attack. 

The cavalry dismounted (normally cav can't use the fire order, but this seemed appropriate for civil war period cav), but their carbines didn't have the range to engage, so they moved up. This brought them into range of the confederate regulars who gave them a heavy volley and sent them scuttling back onto their horses. The sharpshooters did more good though and a firefight opened with the rebels, my men picking off troops without much of a reply. 


On the road my gun was now under fire from Graham's own artillery, but they had held up the veterans and allowed my green troops to get deep into my side of the table and up towards their objective. My regulars now turned and fired on the confederate regulars who were closing in and this allowed my gun to limber up and get away - just in time. Id lost most of the crew. The game was now becoming a race to see if I could get my men off the corner zone or if Graham could place his men across the line of advance and block it. 


First off were the cavalry, at 50% they'd lost too much to take part in any further fighting. My green troops  were next, as the door began to swing shut. I got my regulars across and my badly damaged gun and my still fresh sharpshooters just a move or two away, but now Graham had men in place. His own casualties were mounting though and the end of the game was looming. I fumbled my activation for the skirmishers so they didn't get off but Graham had taken too many hits as his gunfire was not causing any casualties. With that the dice was thrown and the game ended. 

I narrowly squeaked a "victory" of sorts....I managed to get enough troops off the table to gain some honour, but Grahams high casualties and lack of hits on my men meant Captain Flash wouldn't be getting the honour of a mention in despatches to Richmond. My men made it back to the main body under General Stuart at Harlaw and I'm sure Captain Chambers would have had some explaining to do.

We worked out our casualties and wrote orders for the next move. Holding the central position General Stuart decided to hold with Captain Chambers at Harlaw. Captain O'Neil was at Kemnay and had settled down for the night with his small force in camp when the pickets sounded alarm.....


To be continued....


Thursday, 9 June 2022

Holiday gaming - part 1 - Against Spain - Outside Manila

I'm off on holiday at the moment, having a sneaky break between my old job and new one. After a lovely long weekend away up Donside, then down to Edinburgh and Glasgow I was at my local Club to continue playing out the scenarios from my Against Spain book.

Now we have reached Manila on the Philippines. The British have landed through the surf onto a beach near the city and established a depot there while they build their siege line. The expedition suffered from a lack of regular troops and equipment - and this meant the beach depot was not particularly well defended nor was Manila cut off - allowing Spanish forces and supplies to come and go. A sally was inevitable, and when it came it was a force or regulars, militia and tribesmen who attacked. 

The depot was near a Spanish church which in our game housed a detachment of the 79th foot. This was only a short distance from the forest, and it was from this location that trouble arrived. Bill, commanding the Spanish sent his regulars and militia round the church, and his Filipino tribesmen against its stone walls, thinking they wouldn't be good for much but they're tie up the defenders. Dave settled down for a siege. His thoughts were that he could hold out until the Grenadiers and another detachment of the 79th arrived from the lines nearer the city.

It was going to be quite a different battle for both sides....
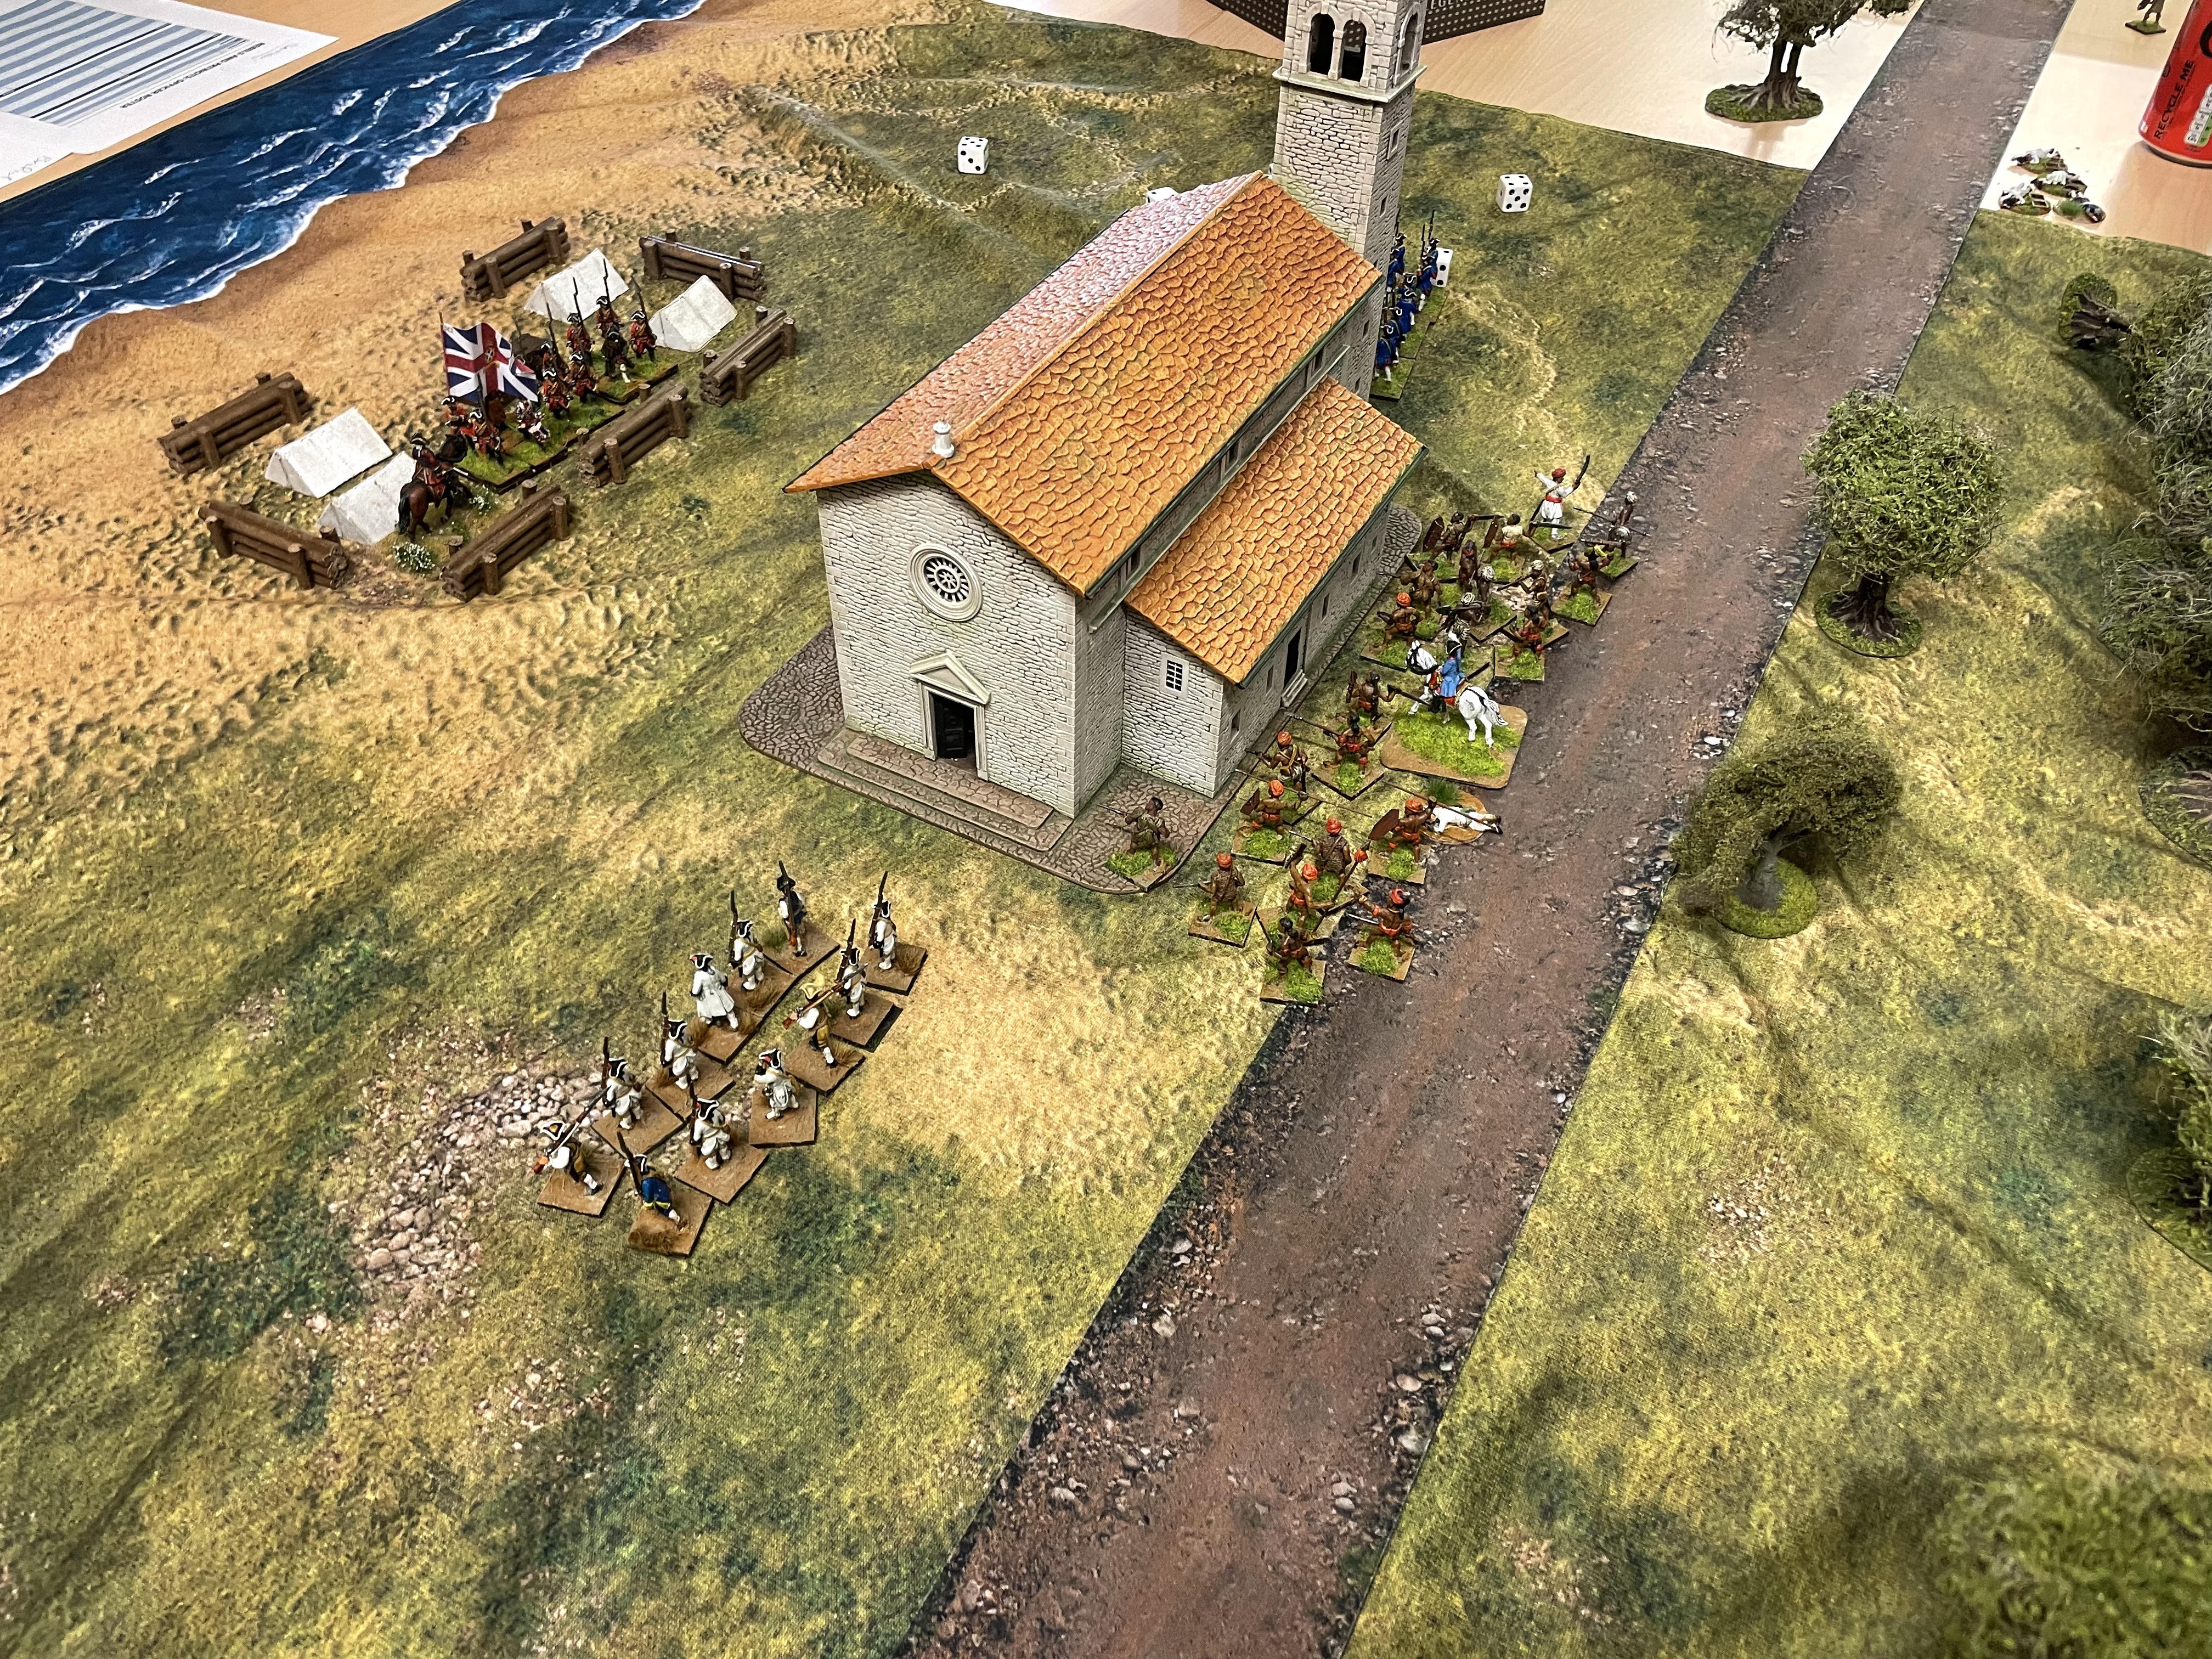

First of all the tribesmen crashed into the church and in a fierce melee (good dice from Bill and a poor morale check from Dave), drove the defenders back from the vestibule (it's a big model!) into the nave where fighting took place amongst the stores and stacked pews. Bill sent his second tribal unit into the church and they swept the 79th back once more forcing them out of the building. Dave (with Robert on the dice), wasnt having a great start. The only consolation as was the city militia were proving very sluggish and it seemed hadn't been paying much attention to musketry drills...they only managed to amble round the church and line up, getting them to fire at the beach depot was proving impossible.  Regiment del Rey, on the other flank were better, firing a volley into the defenders amongst the boxes, barrels and tents.


Another round of melee broke the remaining men of the 79th and they fled for the city. The marauding tribesmen were now free to attack the camp, which they set about with some glee and the British there were pushed back from the breastworks of baggage and equipment. There seemed to be something wrong with the morale dice and it wasn't getting any better. 


The militia were still dithering about, unable, or unwilling to get a shot off, but at last some help arrived from the siege lines and the Grenadiers showed up. A firefight started between them and the Spanish regulars. But back at the beach, the British were now in deep trouble having been pushed back yet again they were practically on the surf line. However order now began to break down and some of the Bill's tribesmen now got stuck in the depot, unable to activate below half strength and probably thoroughly looting the place. The militia still didn't fancy much action, but did at least move round to watch. 

The Grenadiers and Rgt del Rey were blazing away but the Spanish were getting the upper hand but the arrival of the remainder of the 79th brought hope for Dave.....fleetingly....

The men on the beach faced another attack by the Filipino's and were overwhelmed. The dice had been cruel....three 3's for morale tests in a row and poor shooting and melee rolls had done for the Brits. 


Historically the British were able to drive off the Spanish, but with some loss and the fighting quality of the tribesmen was noted. This game showed just how finely balanced the attack on Manila was and had the Spanish been slightly more organised and active in their defence they would have driven the attackers off. As disorganised and poorly resourced as the British were, it was their single mindedness which saw them through. We will deal the the attack on the city itself in the next game in a few weeks time. 

Wednesday, 1 June 2022

Against Spain - Defend the Battery

 As we have reduced numbers at the club it was a two aside game from my Against Spain book tonight. 

Following on from the Advance on Guanabacoa scenario a few weeks ago we played the next scenario from the book, the Spanish attack on one of the British batteries firing on Manila and El Moro.

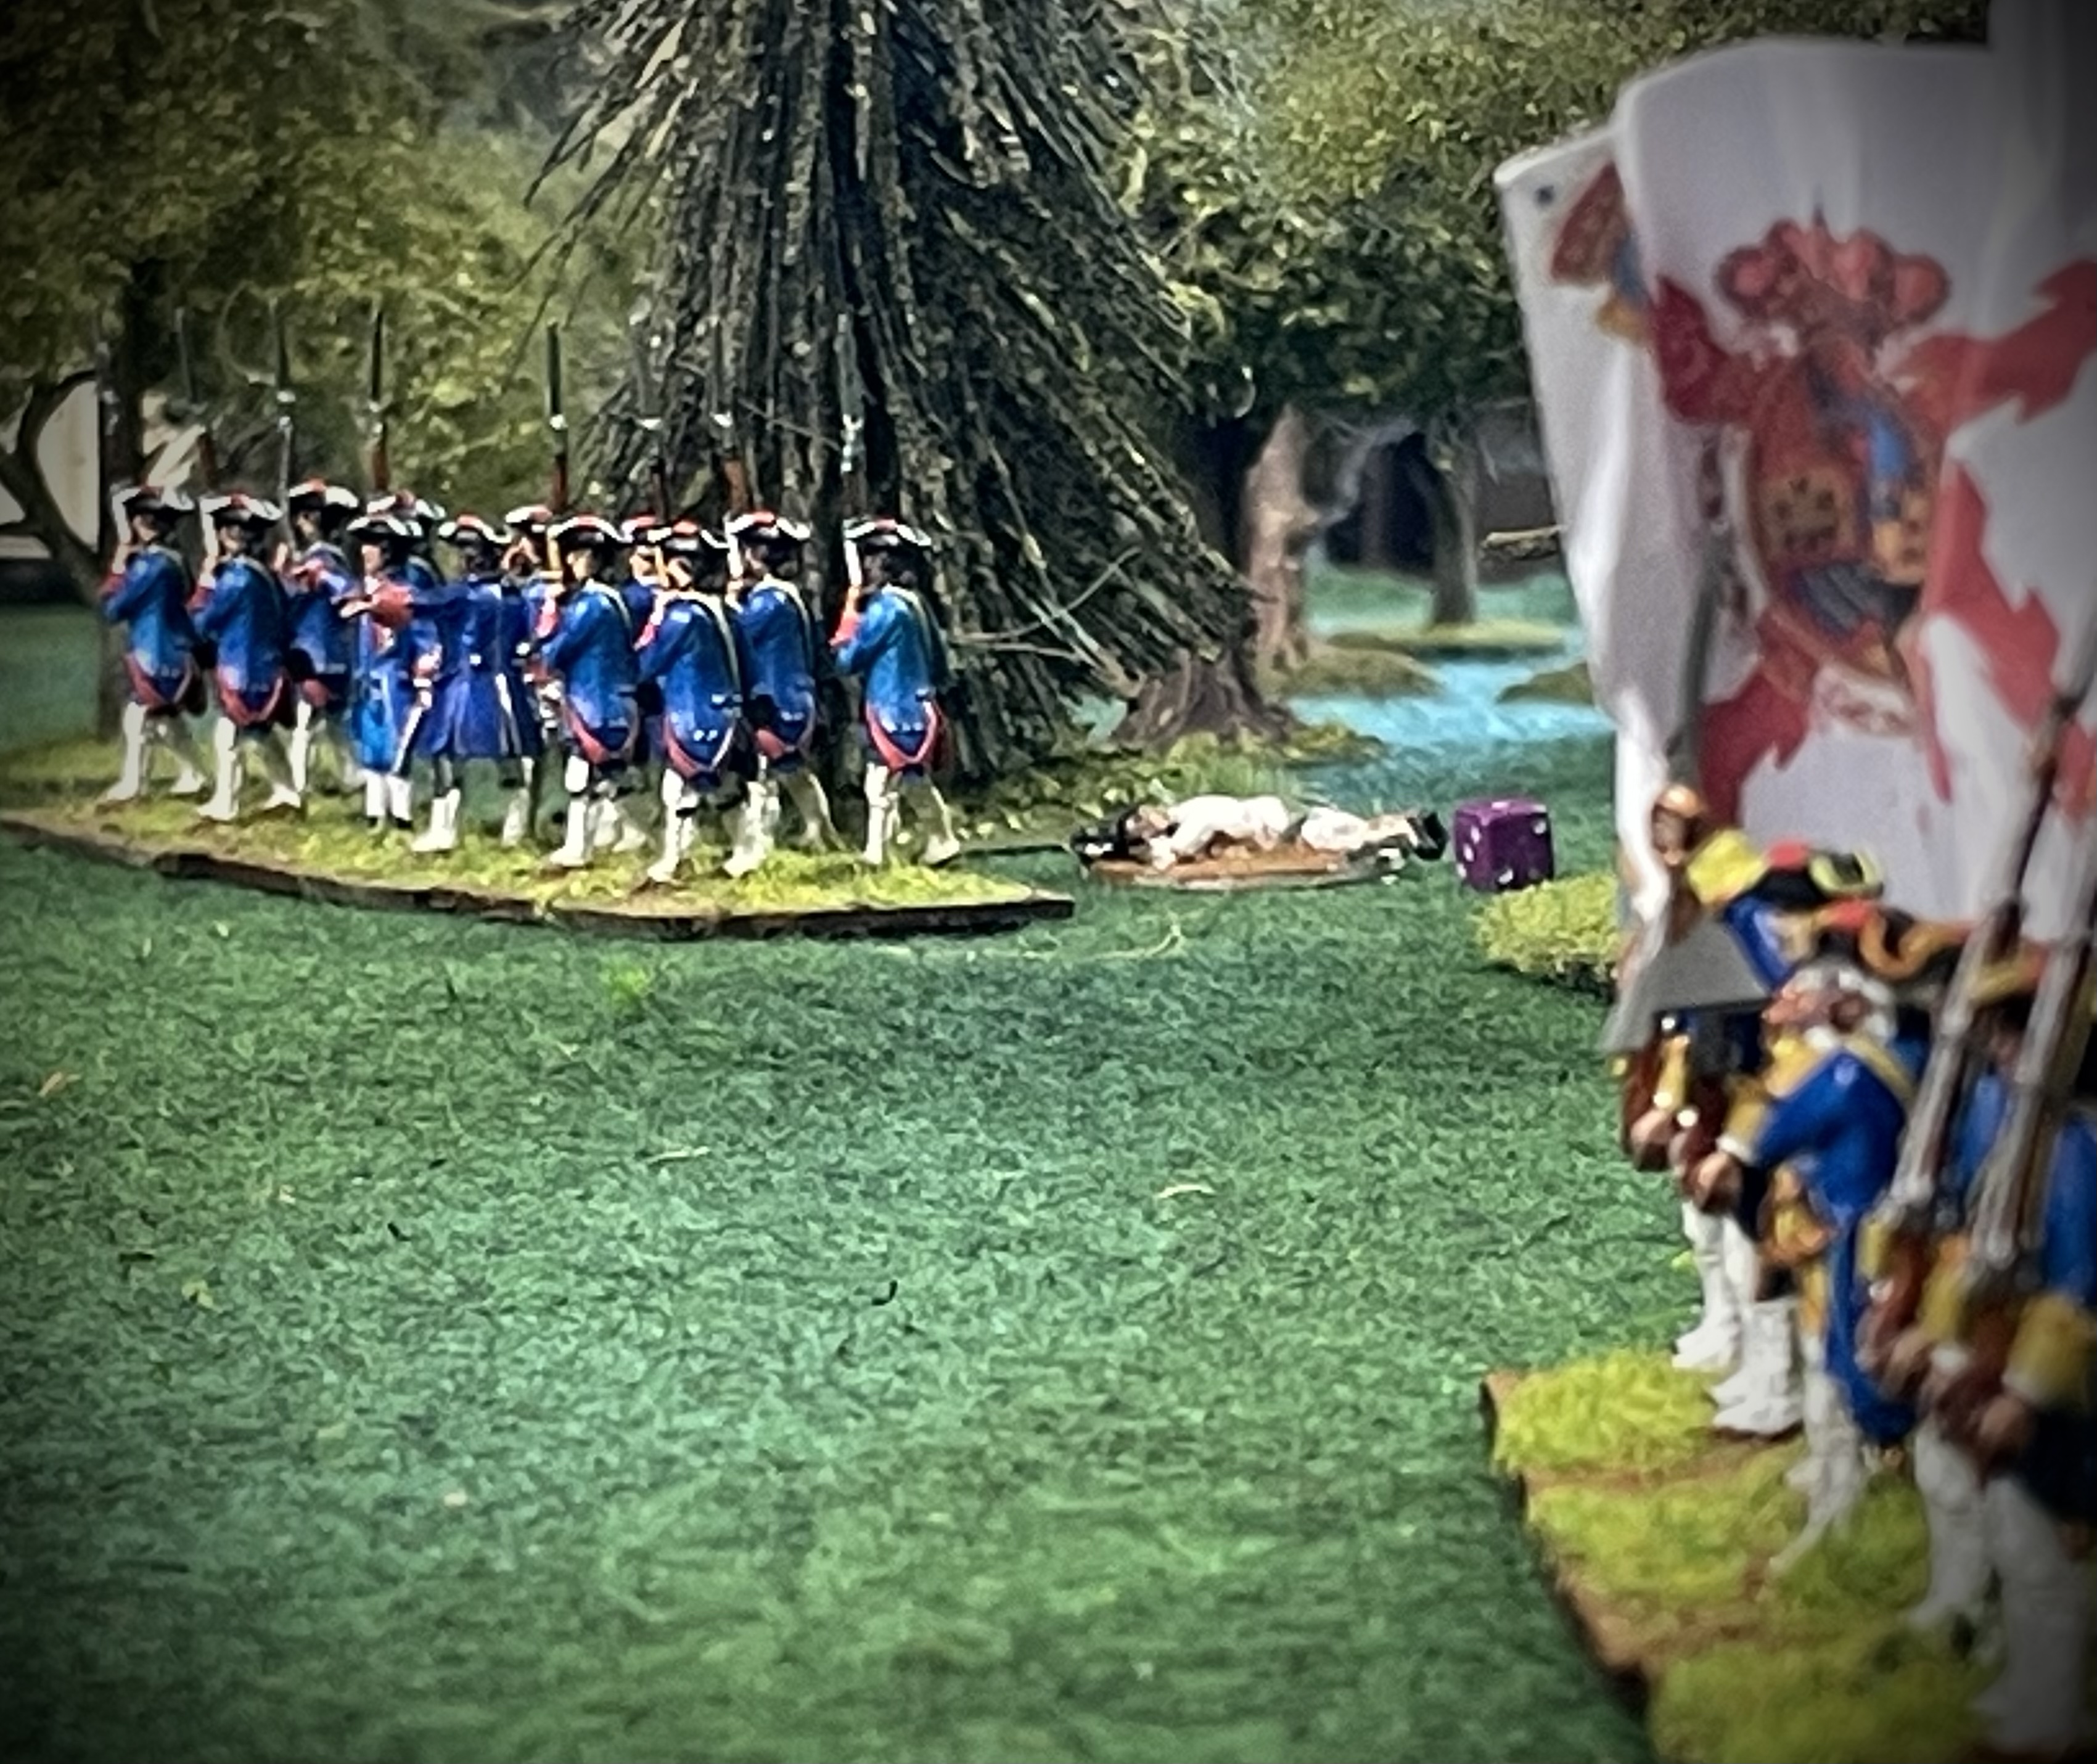
The Spanish rowed men across from Havana and the moved up from the coast, attacking from behind the British position. Appearing from the cover of the trees the Spanish caught the British napping and the three units defending the battery had their work cut out as the Spanish commander Dave, chose to send two units round each side of the battery and his remaining unit of marines and sailors to demonstrate against the centre of the British position. 

In response I brought the scratch unit of gunners and assistants up to the breastworks at the rear of the camp along with the 60th, while the Grenadiers tried to get out of the camp to take on the Moreno and Pardo militias. However using Rebels and Patriots grenadiers are shock troops and have a reduced range for shooting, to encourage them to close. This time however Dave managed two decent first volleys which caused a fair amount of casualties to the Grenadiers, so they were pulled back pdq!


I managed to keep the marines and sailors back and a low morale throw disordered and then broke them, but the Blanco's and the Havana garrison were edging closer. Only the cover provided by the breastworks was saving the British from losing men, but the Spanish were getting into short range - my shooting wasn't great and even the militia would start to whittle the Brits down once they were closer.


I brought the grenadiers out to the right of the camp to try and shoot away the Spanish regulars and for once my shooting resulted in a decent volley from both the Grenadiers and the 60th. This halted both the Pardo militia and the Garrison men. It was the last act of the grenadiers though as they were wiped out in the firefight. This left just two British units. 

By now the Havana blanco's had got into the camp, but a sharp volley ended their incursion and they were wiped out, this left Dave with three units, but the Pardo's were pretty shot up and the Garrison regiment had lost a quarter of their men. They took further casualties trying to close from the 60th and failed their subsequent morale test. Now at less than 50% they were disordered and retired and at that the Spanish had lost more than 50% of their men and the game was over.


It had been a close thing. The British were getting decent morale rolls but poor shooting. The Spanish, bring mostly militia (green), suffered from poor activations the two good volleys I managed to get in coincided with poor morale thrown from the Spanish and that saved the day for the Brits, who were close to losing their second unit and the game.


Historically the British were able to drive the Spanish off, both sides suffering high casualties, so this game was a historical result. A second sally from Havana with more regular troops as well as militia was repulsed more easily and then the British received reinforcements and fresh supplies of powder and shot and the fate of El Moro and Havana were sealed.

All of the figures (other than the pickets, the Caribbean camp follower and the casualties) , were from Crann Tara Miniatures, (now available from Caliver Books) , and include the Moreno militia which were designed specifically with this campaign in mind.

If you'd like a copy of Against Spain, please use the contact box on the right to drop me a line.